The Vixen
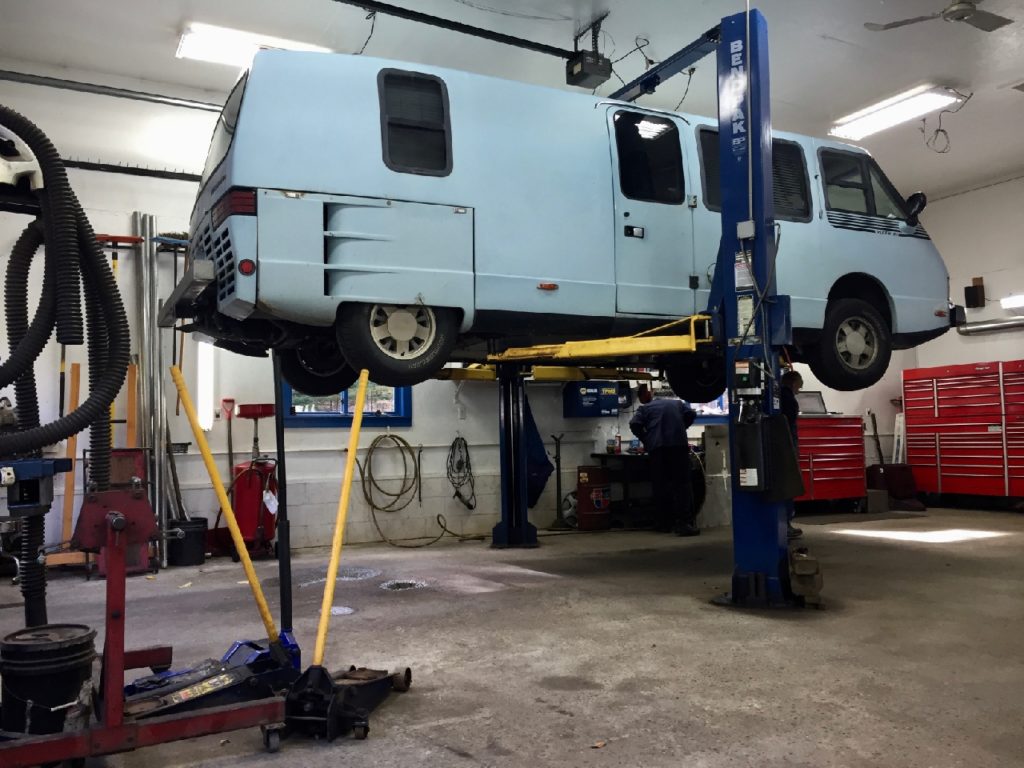
Back when my dad was fighting off his liver cancer, he had wanted to take the Vixen on a trip to the annual Vixen convention. Luckily, the proton therapy had done a good job with no side effects and he was feeling very well. The Vixen just needed a bit of work from sitting for about 3 years.
OK, a lot of work. Dad may have had a few pages of issues to work on, organized with a spreadsheet with priorities and time estimates. He was still an engineer.
Looking at our work schedule, we decided that Kim could run our shop without me for a few days. I headed out there and got to work tackling his list.
One of the biggest complaints my mom had driving it was the shifter. Since the Vixen was a manual and the engine was at the back, the shifter cables were about 20 feet long with several bends. So, this issue was not surprising since they were over 30 years old.
Dad had bought new cables and it looked like a straight forward replacement. The removal was relatively easy. We just cut the old cables, which allowed us to pull the inner cable out of the outer shell. Then the outer shell was easy to maneuver. The hardest part was removing the shell ends from the original shifter bracket. Imagine a giant nut that was hard to get a wrench on, and then barely being able to get a full 1/6 of a turn at a time. Times two. It was not easy. At one point my dad had resorted to using a chisel and hammer to get the nut to tighten enough.
Luckily, someone also produces a new designed shifter base and the new cables use much smaller nuts. We did have to dremel off one of the captured nuts on the underside of the body to get the old shifter bracket off. And we had to clearance the fiberglass body where the new cables went through, just to account for slight cable positions. See? Easy.
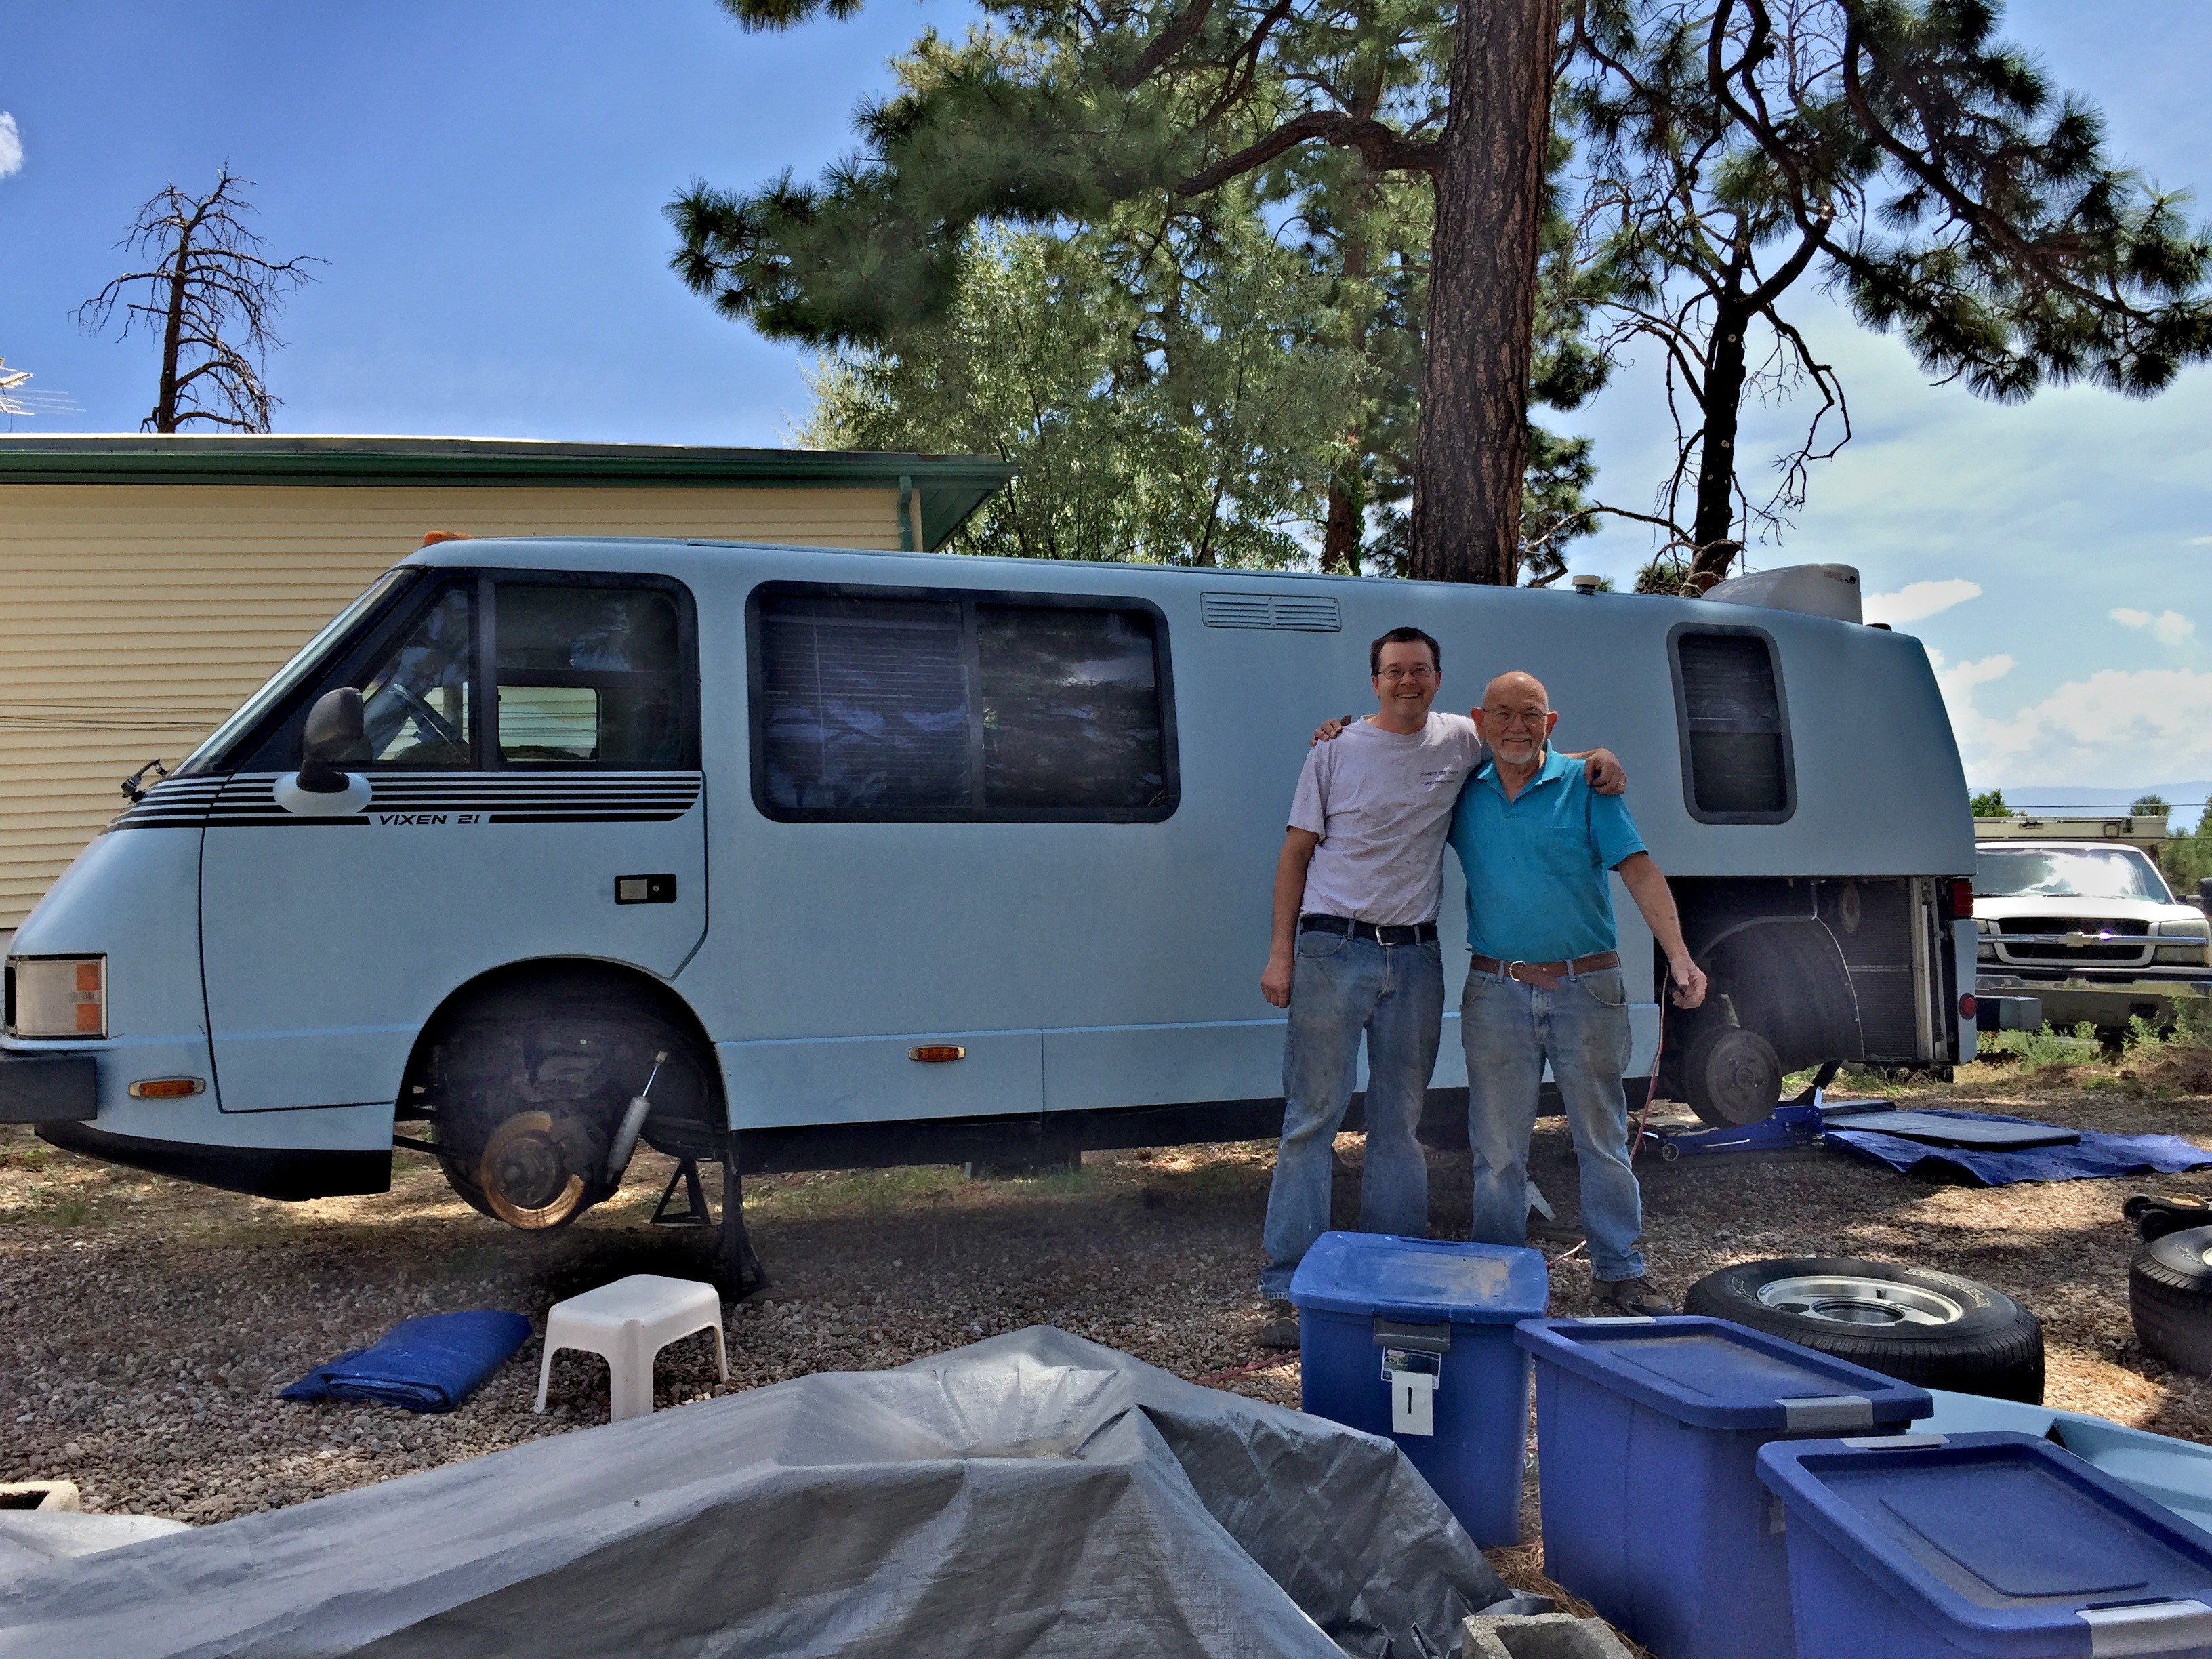
After installing the new cables, the Vixen was completely different. The shifting was almost effortless. Mom sat down in the driver seat and was just thrilled. In all honesty, it made a huge difference in driveability.
They were a “few” more issues to tackle. I changed belts and checked hoses. Topped off fluids and greased the chassis. Dad worked on the interior to make it more livable on the road and buttoned the dash back up. Eventually, I had to head back to work leaving a much smaller list for dad to work on.

On the Road 
Lobster in the Vixen 
Enjoying the Sunrise 
Made it to Maine
With most of the issues fixed, mom and dad set out for a long trip, including a visit to the Vixen convention, a trip through Canada, visiting the northeast for the fall color, and seeing friends and relatives all over the country. In total, they spend 3 months and traveled about 8,000 miles.
While it was to be their last big trip, it was a good one.
And as enjoyable as it was, the trip was not without Vixen issues, or adventures, as we Watts call them. I believe that it started with the alternator not charging, even before leaving their home state. Then it threw a belt. Somewhere in Maine, a steering bracket broke, causing it to turn right but not left. The worst issue was when the transmission mount failed, causing loud banging. Of course it failed during “a dark and stormy night” when the GPS devices disagreed on which way to go, and then when they were close to their destination, a closed bridge caused them to back track about an hour.

Hovermode 
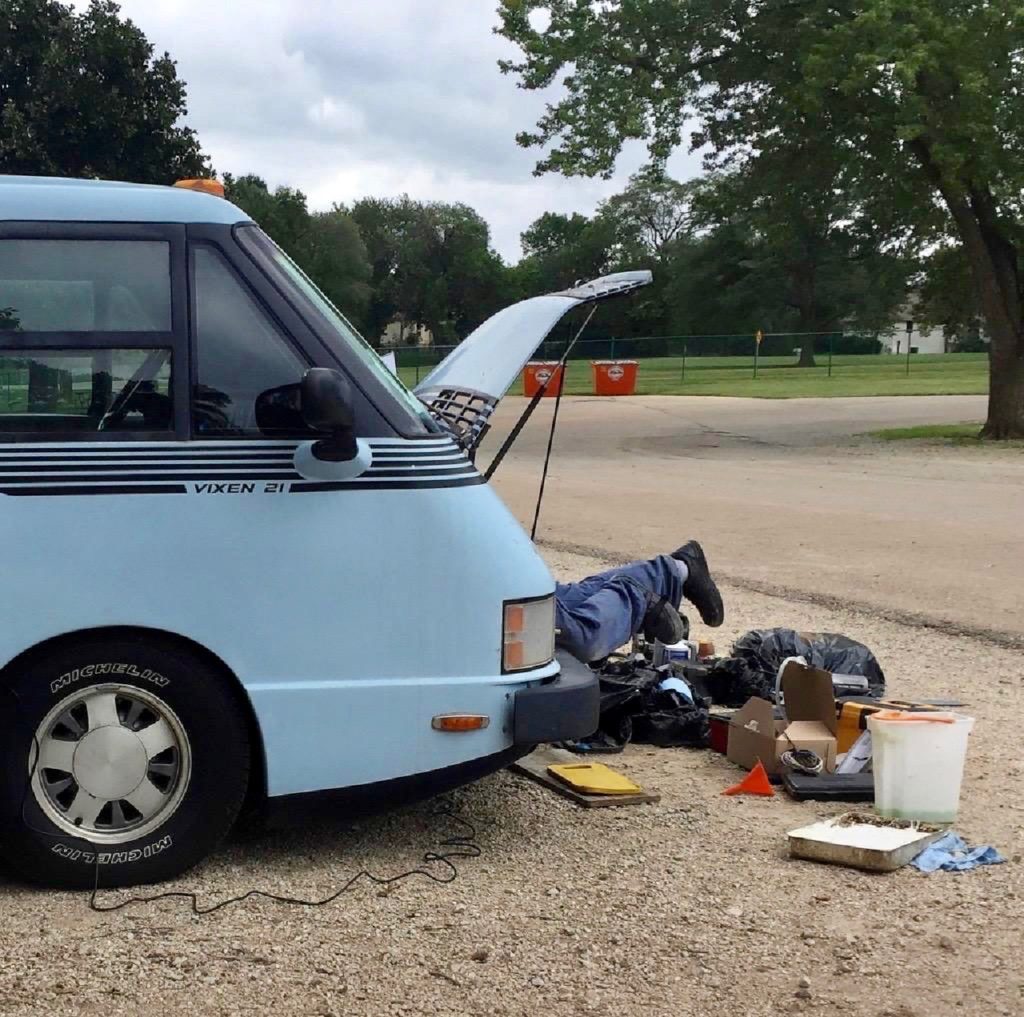
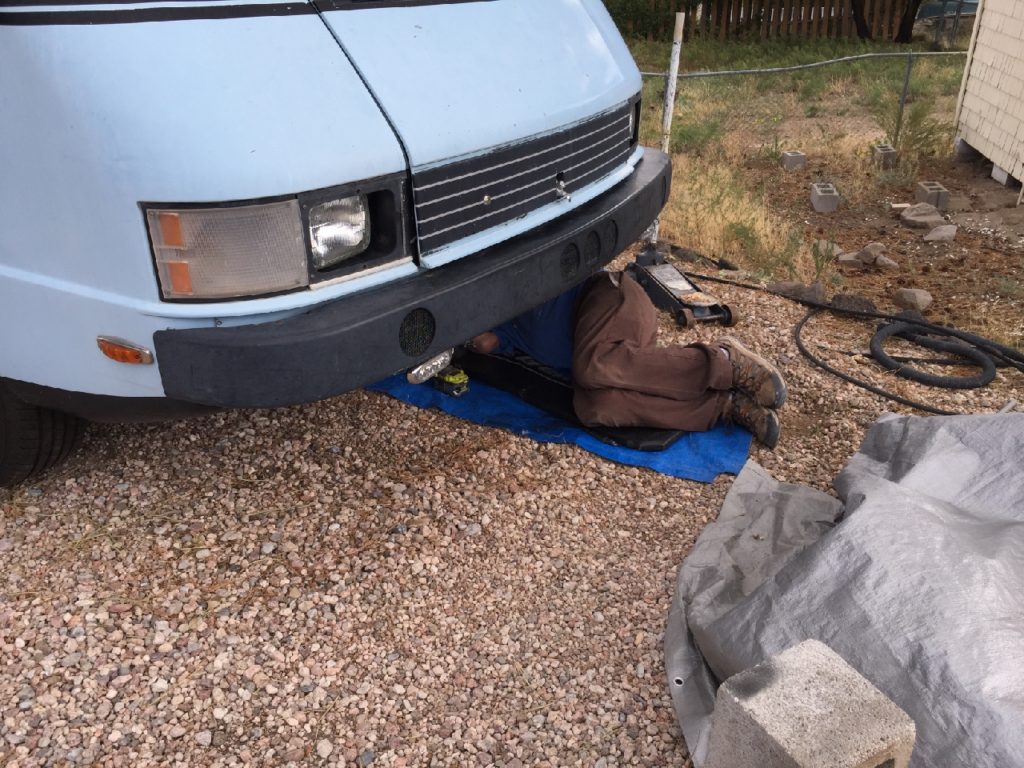
Under the Vixen 
Is he napping?
For fixes, he bought a replacement alternator; had a spare belt to put on; had a new old steering bracket shipped from Minnesota; and had the transmission mount welded up.
But wait, there’s more! Towards the end of the trip, they could not get the transmission into 5th gear. And a couple of days from home, when attempting to start the Vixen at a gas pump, turning the key resulted in blowing the 250a fuse on the negative side of the battery. Like a little kid stomping their foot down, saying “I’m not moving another inch!”
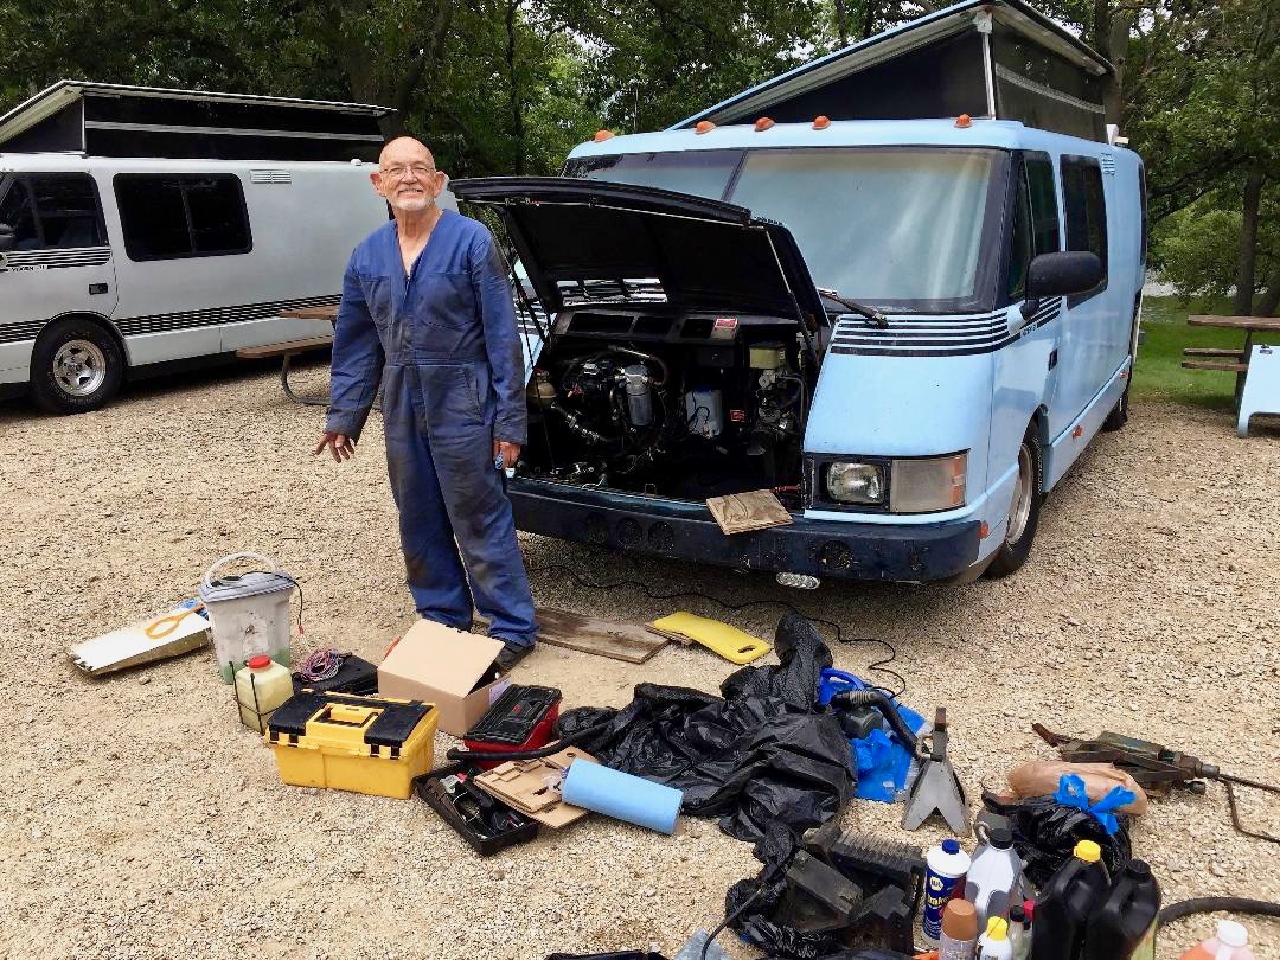
Why was there a fuse on the negative battery post to frame wire? It is a ham radio trick to prevent large shorts from traveling back through the grounding wires and burning out sensitive electronics. Or so I understand. Electronics are black magic to me. Anything more complicated than red wire positive, black wire ground and I have to dust the cobwebs off the ole noggin.
In order to get home, they used the flat tow from the gas pump to pop the clutch and get her running. And then never shut it off. They even slept in a restarea the last night while the engine ran all night along with all the big rigs they were parked next to.
They made it home a bit tired of having issues to work on. But they made it. They parked the Vixen in the back and put it up on jack stands.
Apparently my dad had bought a new starter and, according to my teenage nephew, they had got it started. The last time I talked to him, it still wasn’t running, so I assumed that the starter wasn’t the issue. At least when I finally looked at it, I hooked up the starter to the wires hanging out there, it didn’t work. Specifically, the 30a fuse on the starter relay would pop as soon as you turned the key to start. But that is jumping ahead a bit.
After there long trip, winter came and then I visited the parents on my dad’s 75th birthday. Over the winter, the liver cancer had hit hard, growing exponentially. While he looked good for his birthday with all the family present, the prescribed dosage of meds he was taking was too strong, it kept him down and tired. But at this point, the meds weren’t really making any progress against the cancer.
Too soon after his birthday, he took a turn for the worse. He had a cardiac event which put him in ICU for almost a week and then an assisted living place. He fought back to regain his physical and mental being, but in the end, the liver had failed and his body couldn’t compensate.

I had had the time to be with him the last month or so. And that really helps deal with him not being around any more.
One of the ways I decided to honor him was to get his beloved Vixen running again and take it on a trip. I visited my mom a few times to help clean up the house of dad’s projects and deal with other issues that came up. While there, I would work on the Vixen when I could.
I tried everything I could to figure out why the fuse was blowing. Dad had said it was the big ground fuse that would pop, but here the starter fuse was failing. I removed the relay and just put straight, fused power to the starter and that would still pop.
So I removed the new starter and hooked it up directly to battery and it would engage, but turn real slow. Shit. A bad new starter? And this wasn’t one of the cheap ones. I tested the old starter with the battery and jumper cables and it works. Kinda jumps and sparks, but it engages and spins fast. I throw it back on and boom! There goes the big negative fuse again. Well, at least I validated the original failure mode.
Unfortunately, this is when I had to head back home. As I left, I remember saying, “if this were an easy fix, dad would have fixed it already.”
Being over 10 hours away from a project is torturous. You keep replaying everything you tried and have all these ideas, but you can’t try them. And then you think of something else… But can’t try thay either. It drives you nuts.
When I finally get back to it, I review what I know. The old starter has a dead short in it. That’s a no go. I put the new starter back on, and that’s when I see it. The old starter had the standard two studs on it: the large battery power and the small solenoid activation wire. The new one has three studs. The battery power one is obvious. The other two were different sizes. The ring terminal on the wiring harness was too small to fit on outboard stud, and was the perfect size to fit on the inboard one. Note that the solenoid post was inboard on the old starter.
Things were different with the new starter. On a whim, I jumped the small ring terminal to the bigger stud instead of the one it fit. And the damn bastard started right up.
I was a mix of ecstatic and furious at myself. So happy it ran. So angry that I hadn’t thought of it sooner. Just because something fits doesn’t mean that’s where it belongs.
I had to shut her down and do a proper install of the starter. I had been throwing it together with one of the two bolts and just jumping wires with alligator clips. I had to put on a larger ring terminal on the harness and replace the other connector that I had accidentally ripped off the wire. And tighten all the bolts.
Now that I had the engine running, I did a quick check of everything else. The headlights weren’t working, but the brake and marker lights were. I swear the turn signals didn’t work the first time but did the next. Dash lights were a nope. Also no power to the radio. Huh.
I shut it off and checked all the fuses. The Vixen uses the glass tube style fuses. While attempting to isolate the short, I had separated as many fuses as I could. I did this by popping one side out of the holder and leaving the other in. So I checked that all were properly seated. There was one that was shifted oddly and another not completely seated. But the weird one was that the lights started working when I had the key on and just barely touched (grounded?) one fuse with my voltmeter.
Black magic, I tell you.
I did figure out that the house batteries were really low on voltage. Luckily, my dad was a lithium battery enthusiast and had replaced the old lead acids with some really capable lithium ones. So even though they were down to 2.4 volts, they should be alright. I figured out where the charge controller was. This was not to be confused with the solar charge controller that was still in place, even though dad had removed the solar on the roof in anticipation of installing a new solar panel which was taking up space in the middle of the tiny motor home. Projects within projects.
I plug the Vixen into shore power. Sure, I was using an extension cord that was probably older than I was (at least I remember it from as far back as I can) to plug the 30amp adapter into. I turn on the control and switch it to charge mode.
And it faults out after 15 seconds.
Shit.
Being a mechanical engineer with an electrical problem, I scroll through the menus until I see the fault reset option, clear the faults and try again. I watch as the power inverter goes from 0 amps to 30 amps to 100 amps and the battery voltage creep from 4 volts (at least that is improved from 2 volts!) up to about 6 volts before it faults out again. Shit.
Well, it was looking better each time. So let’s try that again.
Each of four times, I watch as the voltage could climb almost 2 volts and then fault out after 15 seconds. The last time it almost, but not quite, reached 10 volts. I decided that this may not be great for the system, so I give it a rest to go get some lunch.
When I come back and try again, the voltage seems to have dropped down a bit (equalizing, maybe?) and it faults out again after 15 seconds and almost getting to 10 volts. Not wanting to burn out either the lithium batteries or the inverter, I decide to consult the manual. I know, hide my man card.
Download the manual to my phone, gotta love the internet!, and scroll to troubleshooting. Now, I’m reading this manual like an old man. I have this tiny print on my phone screen, so I am looking over the top of my glasses with the phone inches from my head. Finally I read “Fault XXX means that the batteries are not reaching 10 volts in 15 seconds. Clear the fault code and try again.” Son of a bitch! I was doing the right thing after all. Electrical genius.
So I try again. This time I swear it hit 10 volts right at 15 seconds, but it faulted out. But the next time…the next time it hit 10 volts and kept charging. In fact, it charged all the way to 14.8 volts!
It took several hours and I had to find the inverter which was hiding under the false bottom of the “hall closet” and keep the lid off that compartment in order to cool it off as it was getting too hot. But it charged it batteries and the batteries held the charge when the inverter went into standby mode. Holy sweet jesus toast!
With the house batteries charged up, a lot of the non-engine related systems began working well.
After that, it seemed everything would work except the air compressor. I knew dad had been having issues with that on the trip, and had removed it from behind the front suspension crossmember when he got home. Now, that’s not the easiest place to get to. There is a fair amount of overhang in the front of the Vixen and there is a giant skid plate that he had taken off that covers from the front nose compartment (or frunk as parents call it) and the body behind the front suspension crossmember. Tucked up behind the front crossmember is the air tank and the controls for the air ride suspension. This air suspension was not stock, but is a fairly common replacement on Vixens.
The most unique part is that the tank is mounted upwards but the compressor was mounted downwards on two pieces of flat stock that run from the crossmember to the body. Well, one of the two pieces was there but the other was missing in action. I looked all over and tried to remember if I’d thrown it away during the four trips to the dump of stuff that I had cleaned out of the yard, basement, office and shed.
Rather than find the original part, I found a piece of stock at the local hardware store, dad’s favorite store by dollars spent. I cut it to length, drill four mounting holes; two for the compressor and to for the vehicle mounts. Since my dad had decided to go to a bigger compressor, the new mount I was creating would not mount in the previous holes in the crossmember and body.
The fun parts was that I had inadvertently taken all the tap & dies home with me last time. As I was putting stuff away I noticed that they had made the trip to Utah. This did not help me in New Mexico. I scrounged through my dad’s copious supply of fasteners. He, being a child of the depression, was taught to never throw anything out that might be usable later. Even if we discount all the bolts, screws and washers that he brought when he moved to New Mexico, it was still about 15 years worth of fasteners to look through. Eventually, I found a couple of bolts with cutting threads, drilled the pilot holes and mounted it all up.
Now, I should mention that the Vixen was built with a lot of foreign parts (BMW engine, Renault transmission) but they also had a modified Chevy van front suspension, so the vehicle is an odd mix of SAE and metric fasteners. This does not make me happy.
Between mounting the compressor and the skid plate, I believe we have four different bolt sizes, although most of that was not by design but by using what we had on hand at the time.
Before mounting the skid plate, however, I decided to make sure it all worked. I turn the key on and go ahead and start it…because I can! Toggle the air compressor switch to auto. Nothing. Toggle to manual. Nothing. Damn it.
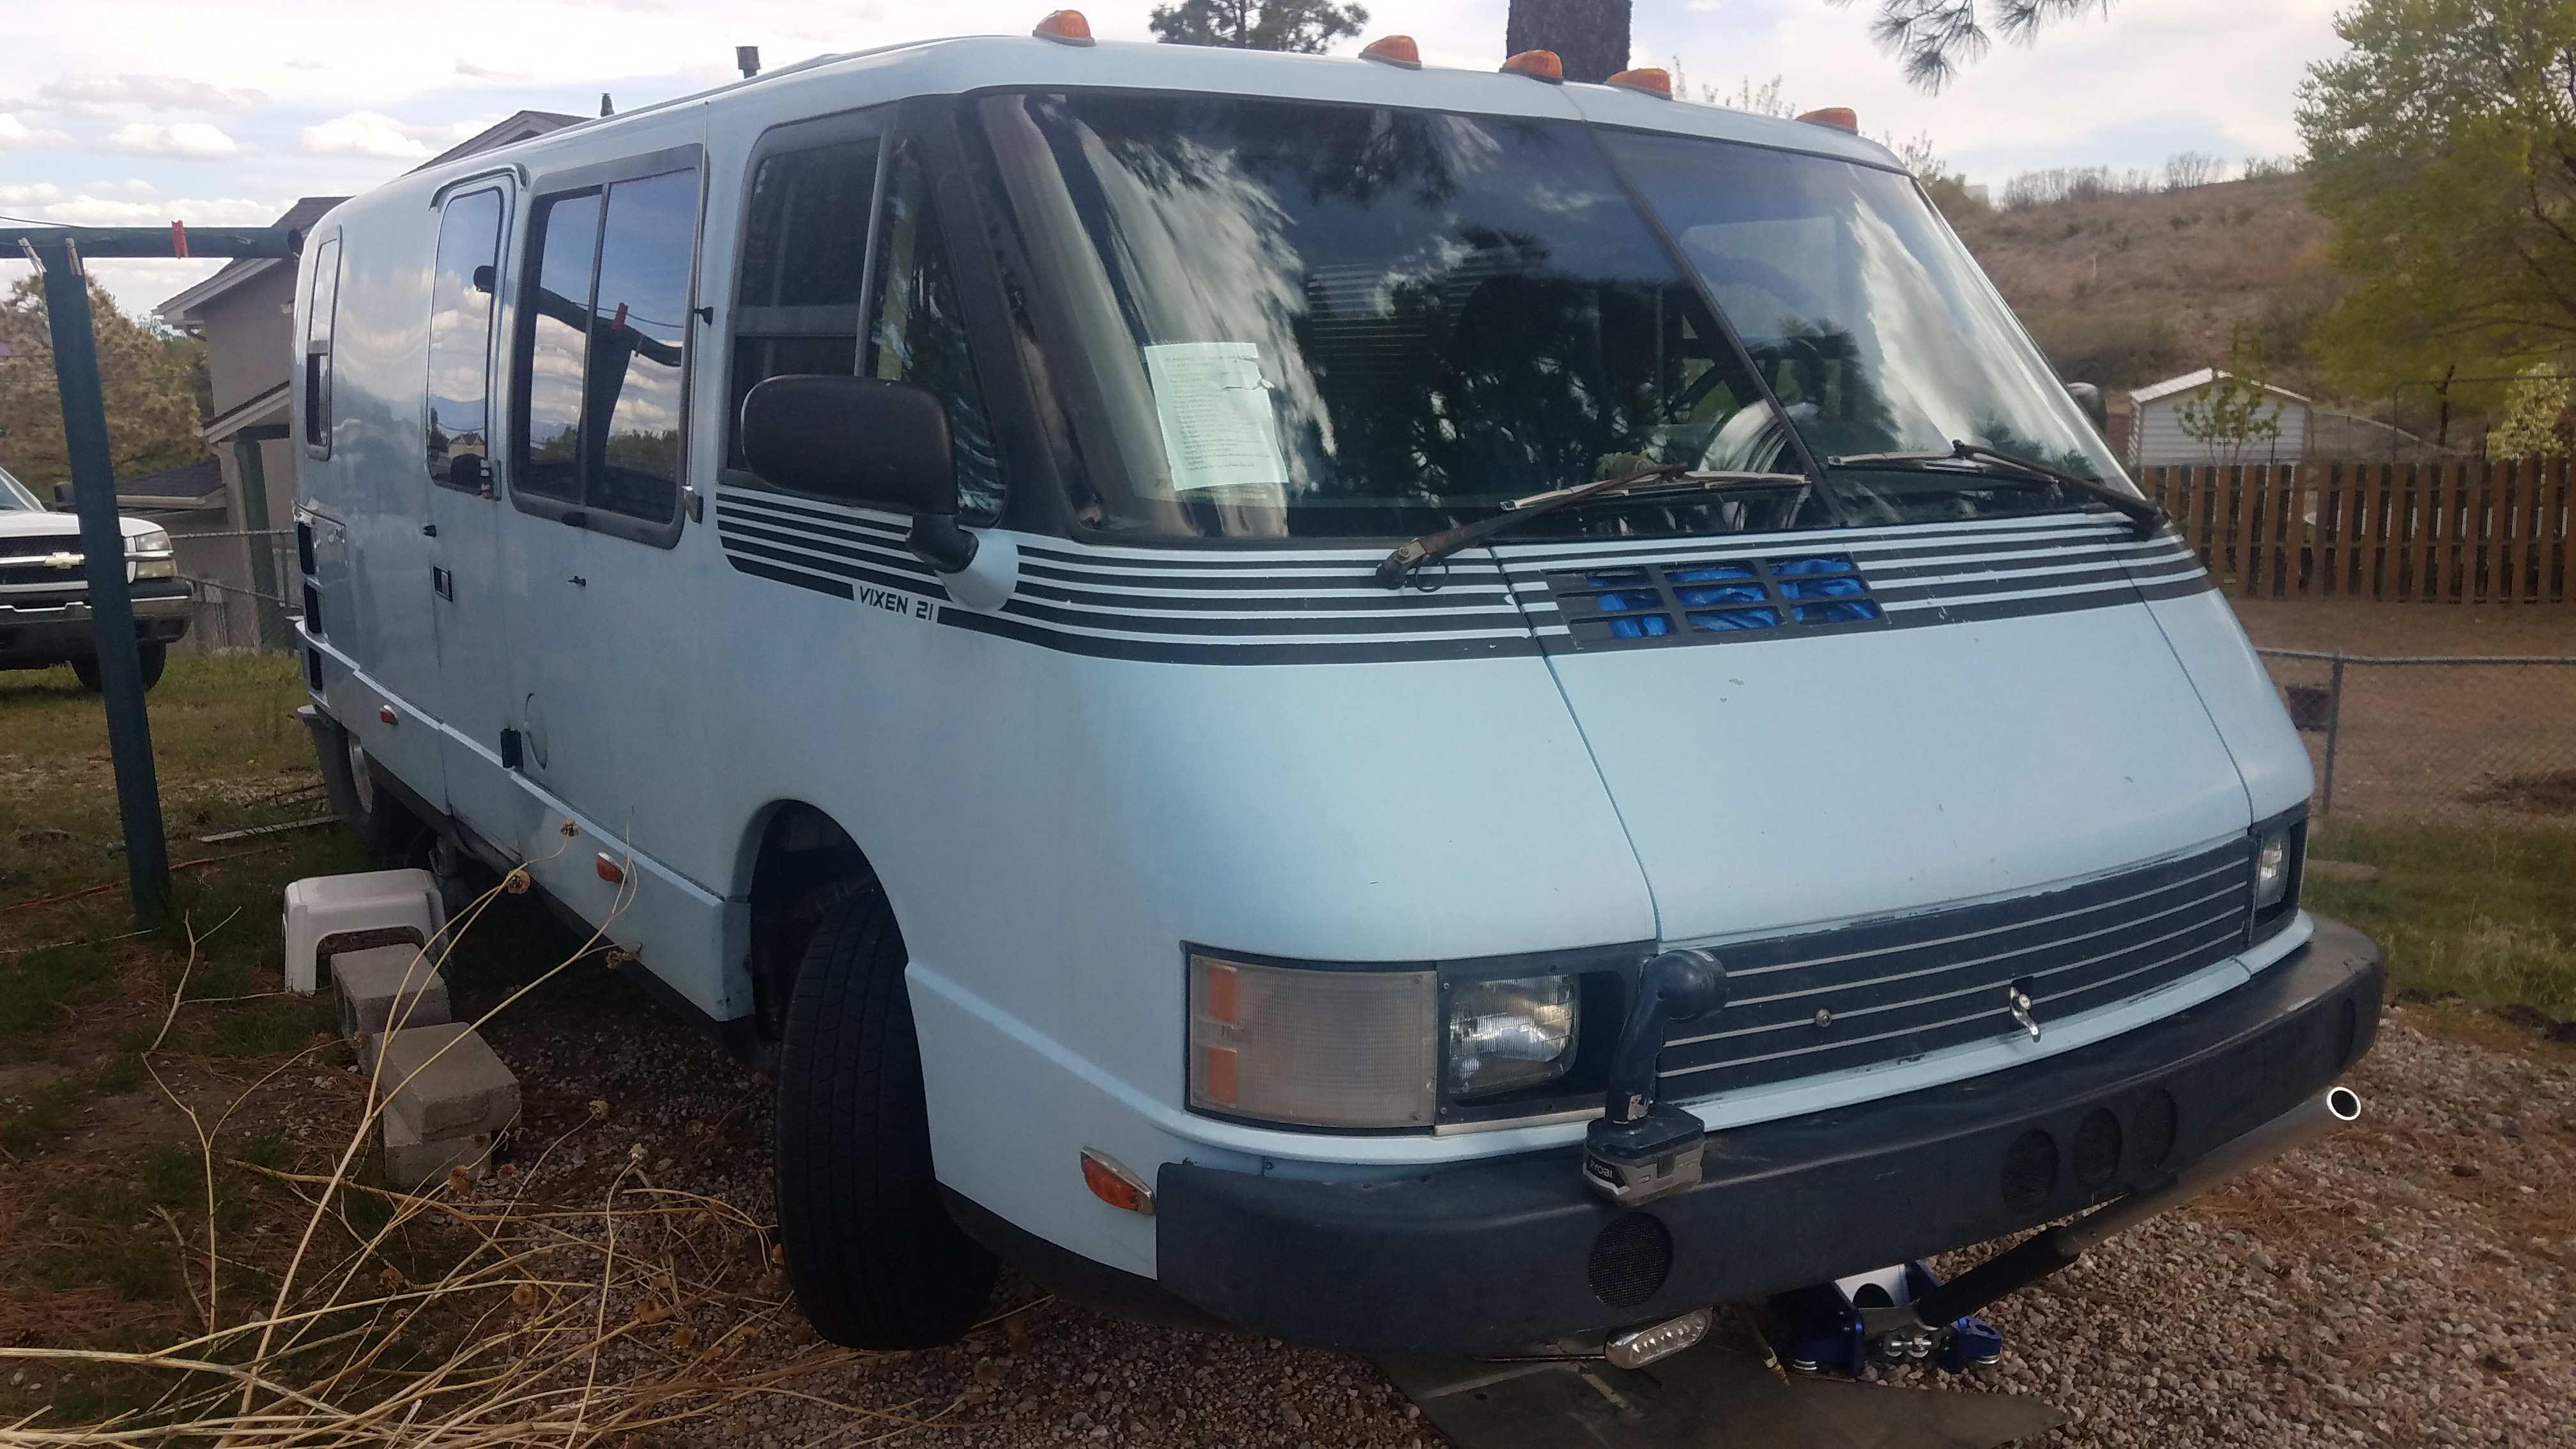
I crawl my tired ass back up under the front crossmember (did I mention that this is on gravel? My favorite) and see that it is being powered (or supposed to be powered) by a red wire. Volt meter confirms no power. At least we don’t have a dead compressor, yet. Since this was added on, I can’t rely on any wiring diagrams, so I start tracing the red wire back. It is tie-wrapped to the right side harness that runs back to the battery. I head back to the battery and see…5 red wires tied to the harness. Seriously??
The next day, I sit down to start tracing wires. One and probably a second power the side running lights that I now notice are probably not stock, especially considering the wiring. Another runs over to the battery. It could be that one, but it is attached to power. I hope it’s not that one. Two others disappear behind the battery and head over to the engine.
Now I start to vaguely remember something about a wire in the engine compartment related to the air ride suspension that I had seen during the starter trials. I crawl under engine and see both red wires. As they diverge, I see that one heads up and has a label tag on it. As I turn it over I read “Air Ride Compressor”. Yes!!
Inside the Vixen, there is the main engine access panel under the rear bed. On the steps to the bed, the vertical riser has an access door to what is referred to as the Ski Compartment. This is a storage area that goes from one side of the Vixen to the other, in front and above the rear wheels. Inside the Ski Compartment is another access panel down to the top of the transaxle. On either side of the transaxle, forward of the engine, are the two “house batteries”. They run everything but the engine. The idea is that you can run the house batteries down too far, but still have the engine battery to start the engine.
On top of the batteries, kind of wedged in that little space, is a small 6 fuse power distribution block. Now I understand why the power wire for the compressor is all the way back here. It is designed to run off the house batteries as the air ride has an automatic mode to keep the Vixen level, even when the engine is not running.
As I look at the block, I see that it is missing 2 fuses and the wires to those fuses are pulled off. One is labeled “Air Comp”. Sigh. At this point, I think my dad was just trying to get me to expand my electrical knowledge. A challenge to make me smarter. But thanks for the labels dad! So, I plug it all together and find a couple of bladed fuses that seem appropriate. Try the button again and hmmmmm…the compressor hums to life. Sweet!
I let it build pressure, which seems to take a while, but it was completely empty. I had checked the drain/pressure release valve when I was down underneath and had made sure to close it tight. Eventually, it build enough pressure that I can manually pump up the 4 air bags. Excited to have it all working and trying to get it moving before nightfall, I quickly mount up the skid plate and drop it off the jack stands.
I fire it up, still geeked that it runs!, and put it in first. It pulls forward smoothly. Put it reverse and it starts to roll forward slightly. Huh. It must be in second gear. Back to neutral, make sure to hit the reverse lockout release switch (and hear it actuate), shift left and down, and…still wants to go forward.
Great. No reverse. I’ll have to jack it back up to figure out why it won’t go into reverse. I really hope it is just a cable adjustment issue at the transmission end.
I cycle through the rest of the gears. First, second, third, fourth, ugh, ugh…can’t get it into fifth. I vaguely remember dad mentioning that they didn’t use fifth towards the end of their trip. I asked mom and she confirms that. So…from 6 to 4 gears. Great.
Unfortunately, it is now dark and I plan on leaving for home first thing in the morning. I use first gear to pull forward and then press in the clutch and roll back down the hill to slowly jockey the Vixen over in the back driveway. Dad had parked it in the most level spot, the middle.
Another unfortunate issue is that I can’t turn the steering wheel too much because the right front air bag isn’t raised high enough. You see, the air ride was leveling the Vixen and the right front was the furthest up the slope. This is when I notice that the air pressure in the tank isn’t climbing up near as fast as the day before, and that had been dreadfully slow. I slap my head in stupidity as I had not bothered to check all the air connections before putting the skid plate on.
I knew that the two junctions I had made were tight and had new TFE paste on them. I had noticed that the air inlet was too long and too small for the new compressor. It had a larger inlet and outlet that I had to find adapters for, but the inlet side was a six foot hose that disappeared into the right front.
So, while I did get the Vixen to reliably start, and most of the electric demons were purged, I still have a list of things to fix before she is road worthy. Mainly, the air system needs addressing. I need to get a better/bigger air inlet path, replace the small hoses from the compressor through an air dryer to the pressure tank, and then pressure test the entire thing soaped down. I need to button up the dash at some point. And I need to check out the transmission shifter cable adjustments and why we are down two gears.
I don’t plan on mounting the solar until I get the Vixen to its new home in Utah. I still need to figure out if the water system works, both clean, grey and black water systems. But I am feeling better about the future vacation plans! What could go wrong!?


