Ike
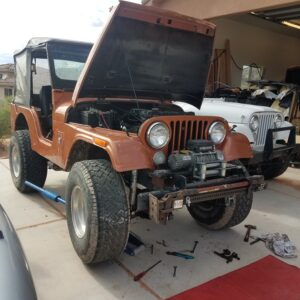
Growing up, my dad always had a collection of Cherokees and Comanches, so I have always had a soft spot for them. I started keeping an eye out for one in decent shape, as one does.
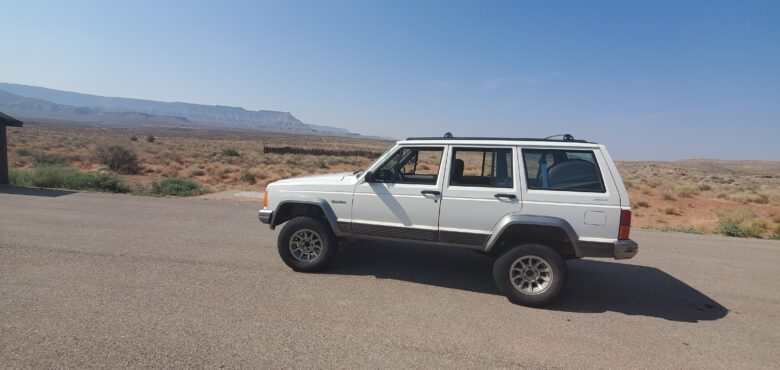
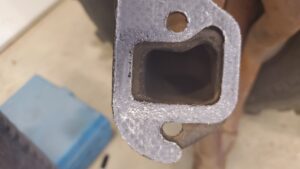
After looking at several, I found one that was in good shape. Was it perfect? No. I mean, it had 224k miles on it. It needed springs and shocks. The front seats were torn, but still looked good. The power windows worked, even if the passenger side windows were a bit slow. The annoying exhaust leak at the header and what sounded like a catalytic converter with the insides loose. The passenger front door outside moulding had come loose and someone had screwed it into the sheetmetal. Honestly, that was the worst thing.
I did a more detailed inspection at home. All the front end joints should probably be refreshed as they looked to have 224k miles on them. The thermostat gasket was leaking, which dripped down and caused a lot of dirt and grease buildup on the front of the motor. There might be some oil seepage, but it’s hard to tell. The coolant is the only wet leak.
The tires were new, but they were snow tires on Grand Cherokee wheels. And undersized.
After driving it a few times, i noticed it would get hot, very hot, when the outside temp was over 105F. Thinking the catalytic converter might be restricted with the loose element, I dropped it down. Sure enough, the last hunk of material was free floating. As a quick fix, I just removed the loose elements and made the cat a little more free flowing. It sounded like there might be a small piece in the muffler also, but I never could get it to come out either end. Oh well. Back together it goes.
The rear springs were so shot, the left leaf spring was almost flat. Feeling that the whole suspension was worn out, I figured I might as well find a small lift kit for the beast.
Hmmm, this beast needs a name. It will be the wife’s beater, so let’s call it…Ike.
Searching around the internet, I found a few options for lift kits, but most were in the 3 to 4″ range. Ideally, I’d be about half that. I ran across an Australian company Ironman 4×4 that offered a 2″ lift. Perfect. Then I found a 20% off code on some random forum. Even more perfecter. Ordered!
I needed some new wheels and tires to go with the lift, and I always loved the turbine wheels my dad had. I thought they were on his 86 Cherokee, but supposedly they were stock on Comanches. So much for my memory. Luckily, I found a set for sale locally with some old, hard tires on them.
Just to see how they looked, I threw them on Ike. Sweet. The one tire had a leak, with the hole in the tread circled. I just happen to have an old hole plug, probably as old as the tire. 10 minutes later the hole is plugged and the tire holds air. Utterly shocked that it worked at all.
But driving on these tires…holy hell. They are as stiff as 30 year old tires. Can’t wait for some new ones, but need the lift completed first. I also learn that the soft snow tires were fairly important to the overall suspension tuning. Headed to work one day, we hit a tiny bump mid corner. Death wobble! The monkey brain immediately assumed I forgot to torque the wheels, but as I start to pull over, I remember specifically torquing them and suddenly remembered about the death wobble. Around 20mph, the wobble ceased and I drove the rest of the way to work without issue. My pants weren’t that brown.
At work, I ordered new ball joints and steering linkages. I also ordered new front brake pad and rotors, as the right rotor was grooved badly and the left outer pad had 3 stops left on it and the rotor was badly heat checked. While I was spending money, I ordered a new fan clutch as that could help with the cooling, a new water pump as suggested while doing the fan, and a new serpentine belt. Doing research, I also found out about the injector upgrade. It replaces the stock 1 hole injectors with a 4 hole style injector. So I found a “flow matched set” on ebay. We will see.
Then a week of waiting for parts and time to work on it. Boooooring.
Ike is up on jack stands just waiting for parts. First to arrive are the brakes. Easy enough, right? Well, almost. Left front is basically easy, but the rear part of the knuckle where the pads slide against is heavily gouged. I grab the dremel and smooth it out. At least the pad shouldn’t hang up. The right is a different story. Same issue with the pad groove, but when torquing the back caliper bolt, I feel the dreaded torque loss right as it should be seated.
I pull the caliper back off, tap the hole and run a die over the treads, but it is futile as the bolt will not torque up. Back to rockauto.com to get a new knuckle and set of caliper pins.
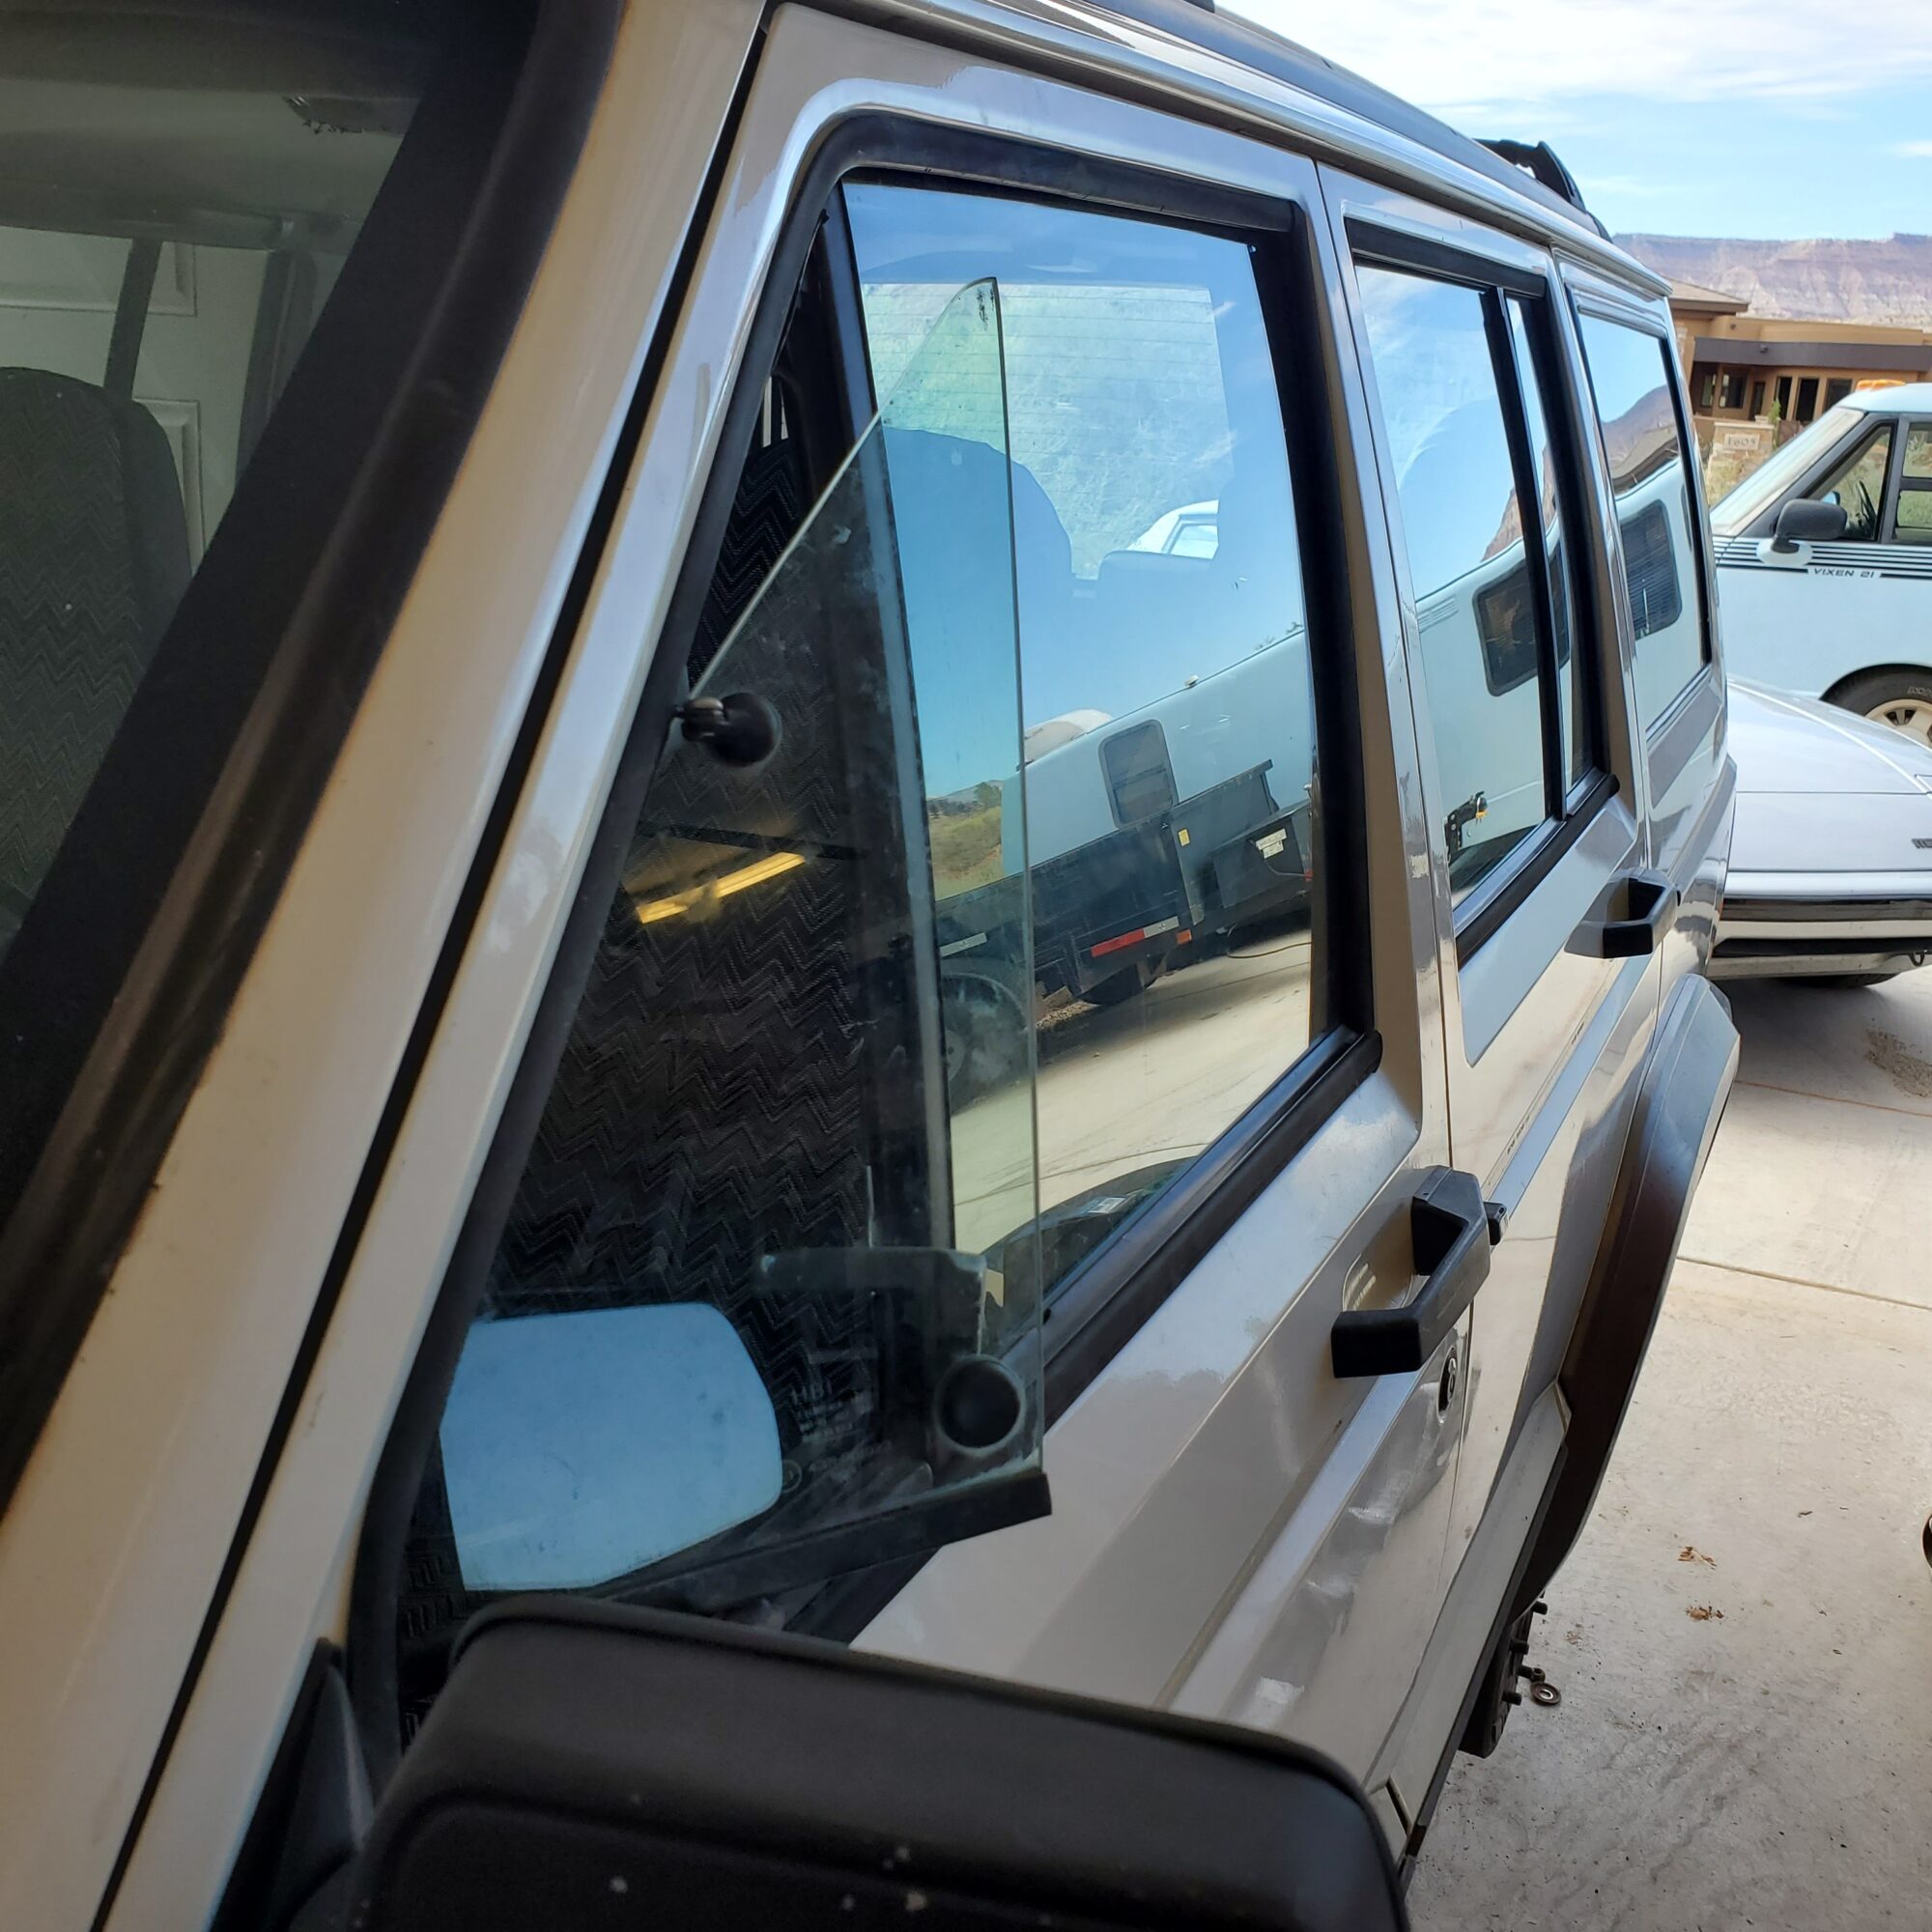
While I’m stuck at work, my mind wanders back to one of my dad’s Cherokees. It was an 86 and had those manual vent windows on the front doors that were awesome for letting in air. I’ve missed those on every vehicle since then. A quick internet search showed that they were not an option for my 96 Cherokee…but that they would fit! Oh hell yeah! Another quick internet search found a set up in an Oregon salvage yard and they were soon on the way.
The lift is scheduled to show up soon, so I take the old suspension off. This goes surprisingly well as all the bolts come loose with only the left front leaf spring bolt galling on the way out. Two of the shocks, one front, one rear, do not extend when compressed.
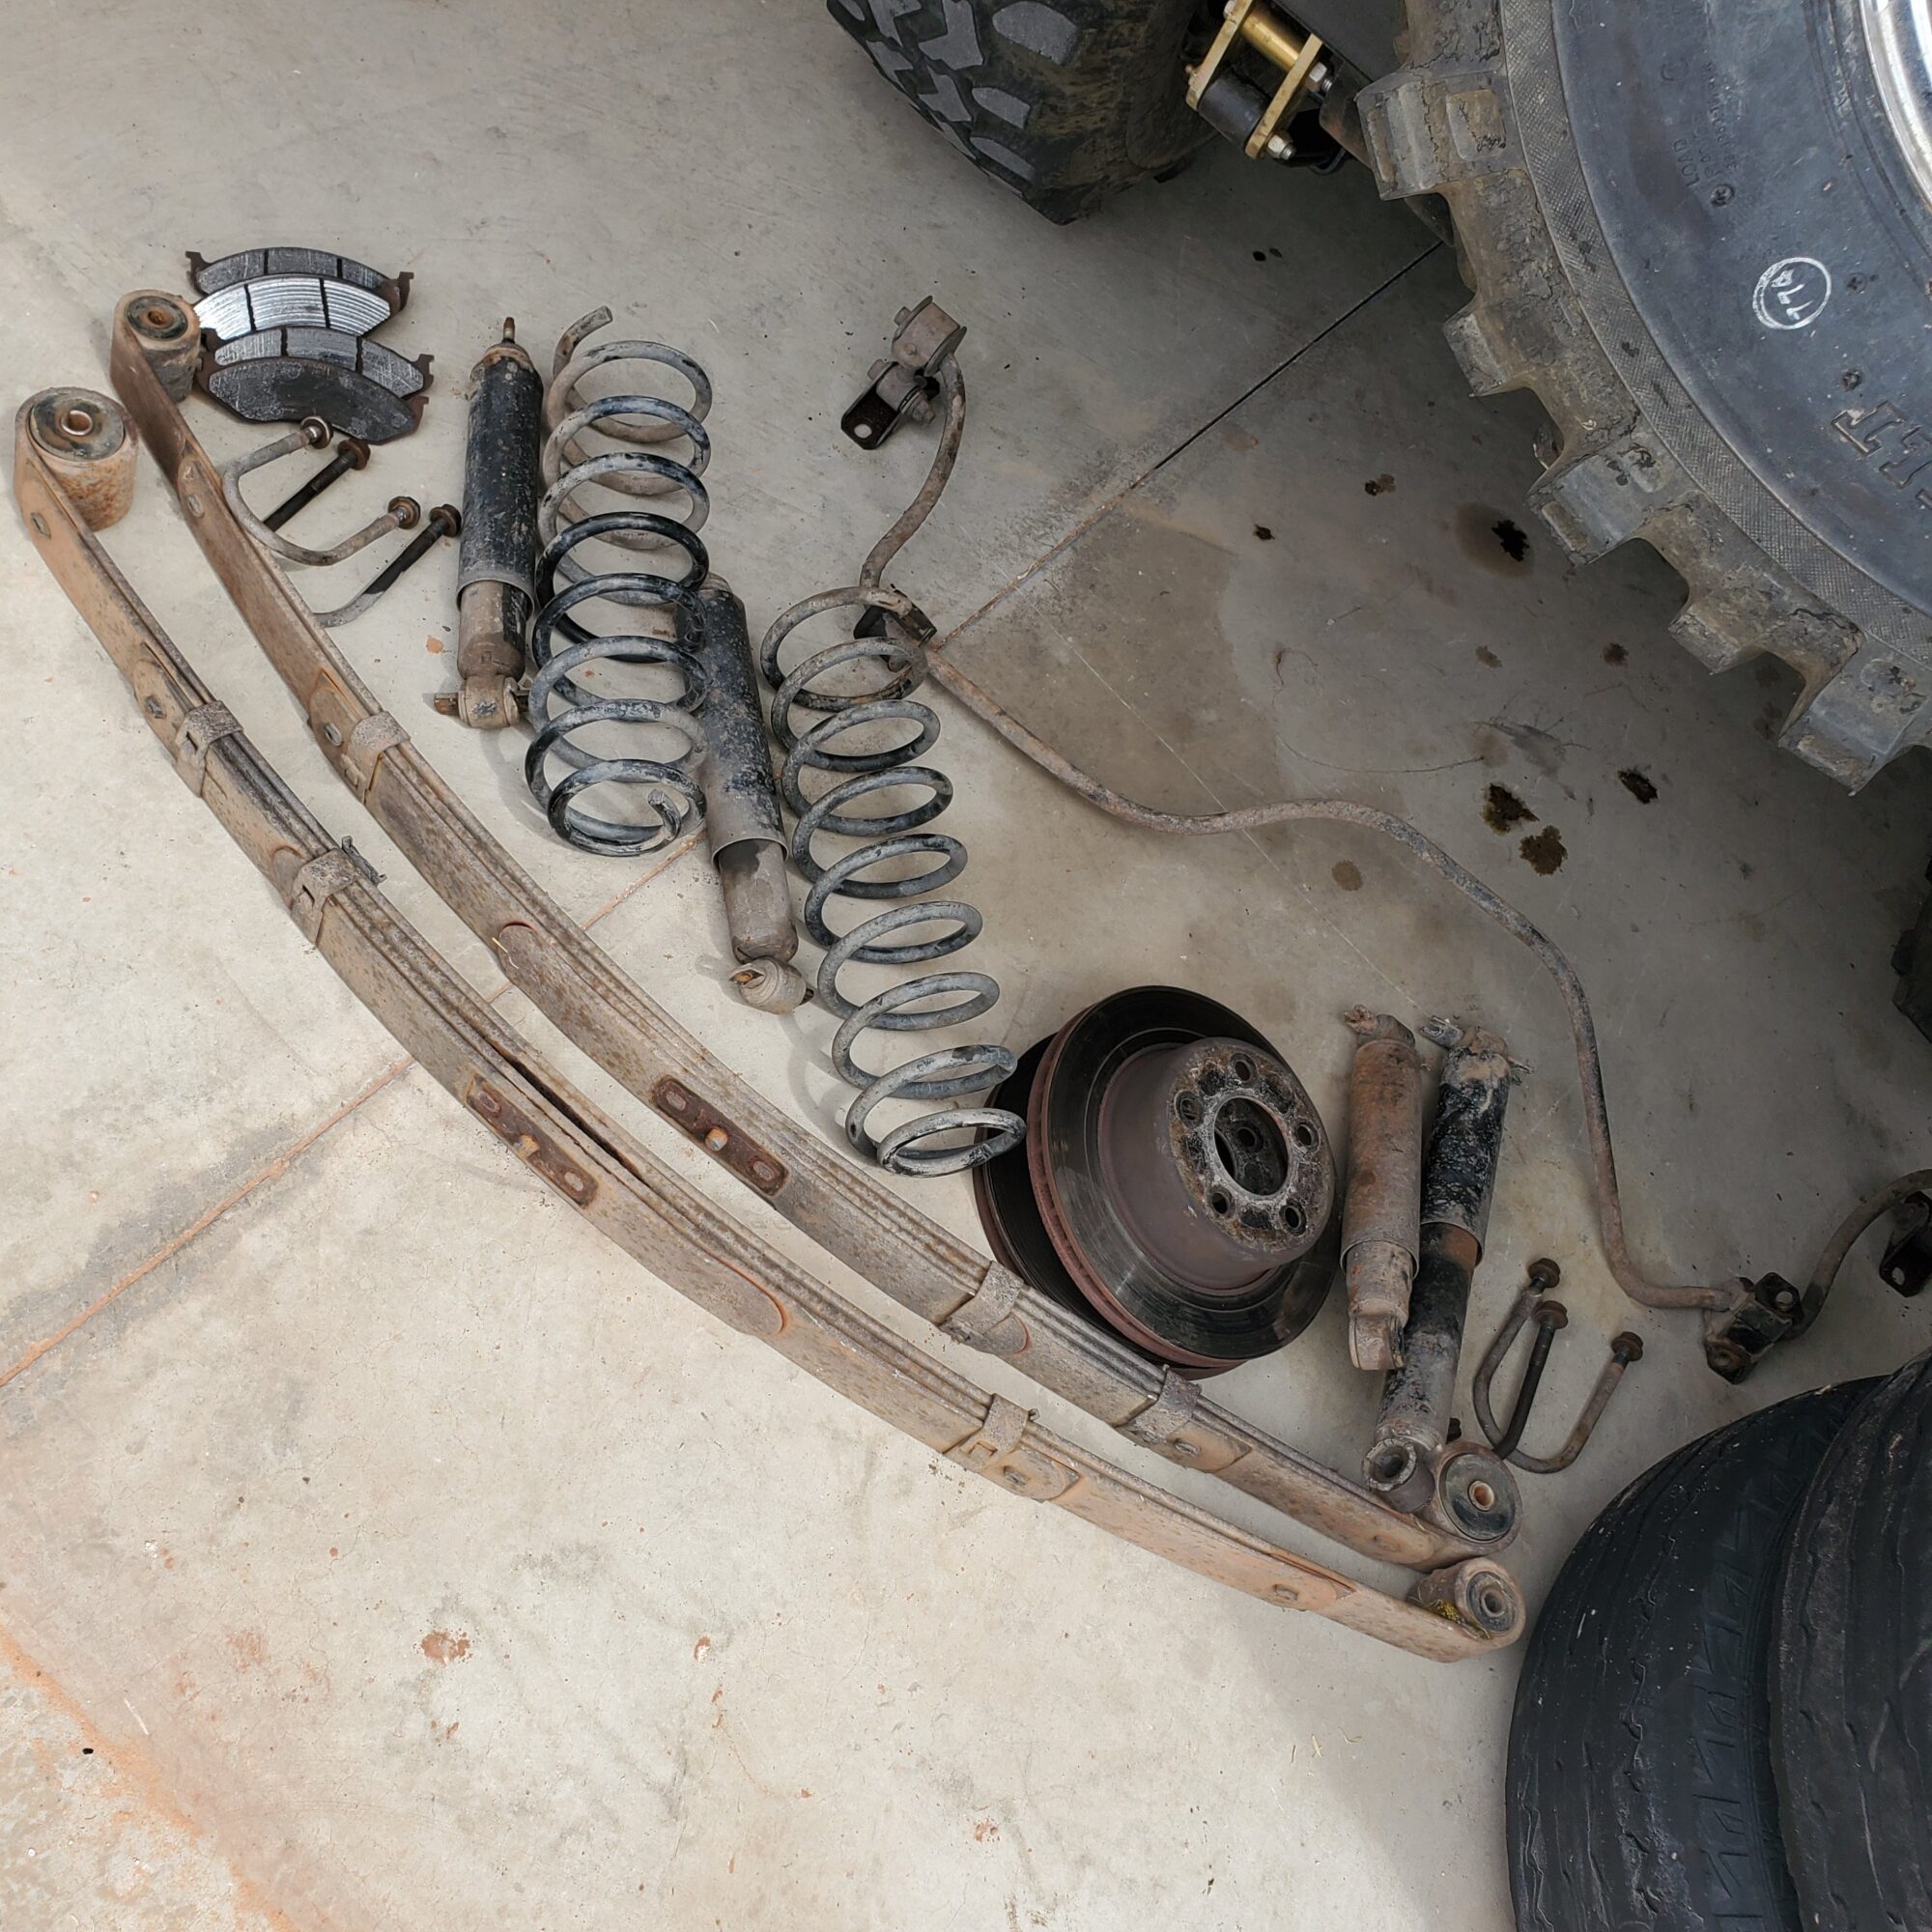
When it shows up, I get the front back together and done, except the torquing. Again, all surprisingly easy. Unfortunately, I have to wait a day or two until the tap and die show up to clean up the leaf spring bolts. But on the good news, the vent windows came in! It took at bit of trial and error, but they went together. The old weatherstripping isn’t the best, but it’ll keep the bugs out. Super cool.
The next day I tackle the rear. Almost easy. I take advantage of the springs being out of the way to clean up some surface rust and repaint a few areas. I have to wait another day for the tap and die. When they show up, I clean up the captured nut (not bad at all) and the bolt (rather galled). I forgot how much fun getting leaf springs all lined up can be.
I end up having to grind a little on the rear shackles to just get it loosely installed. But the biggest issue is that the new U-bolts that came with the lift kit are for a Dana 35, whereas mine has the Chrysler 8.25, both options for my year. And, of course, the old u-bolts are too short for the new leaf pack. A quick run into town and luckily they have something the right size and length. Back up the hill and throw it all together.
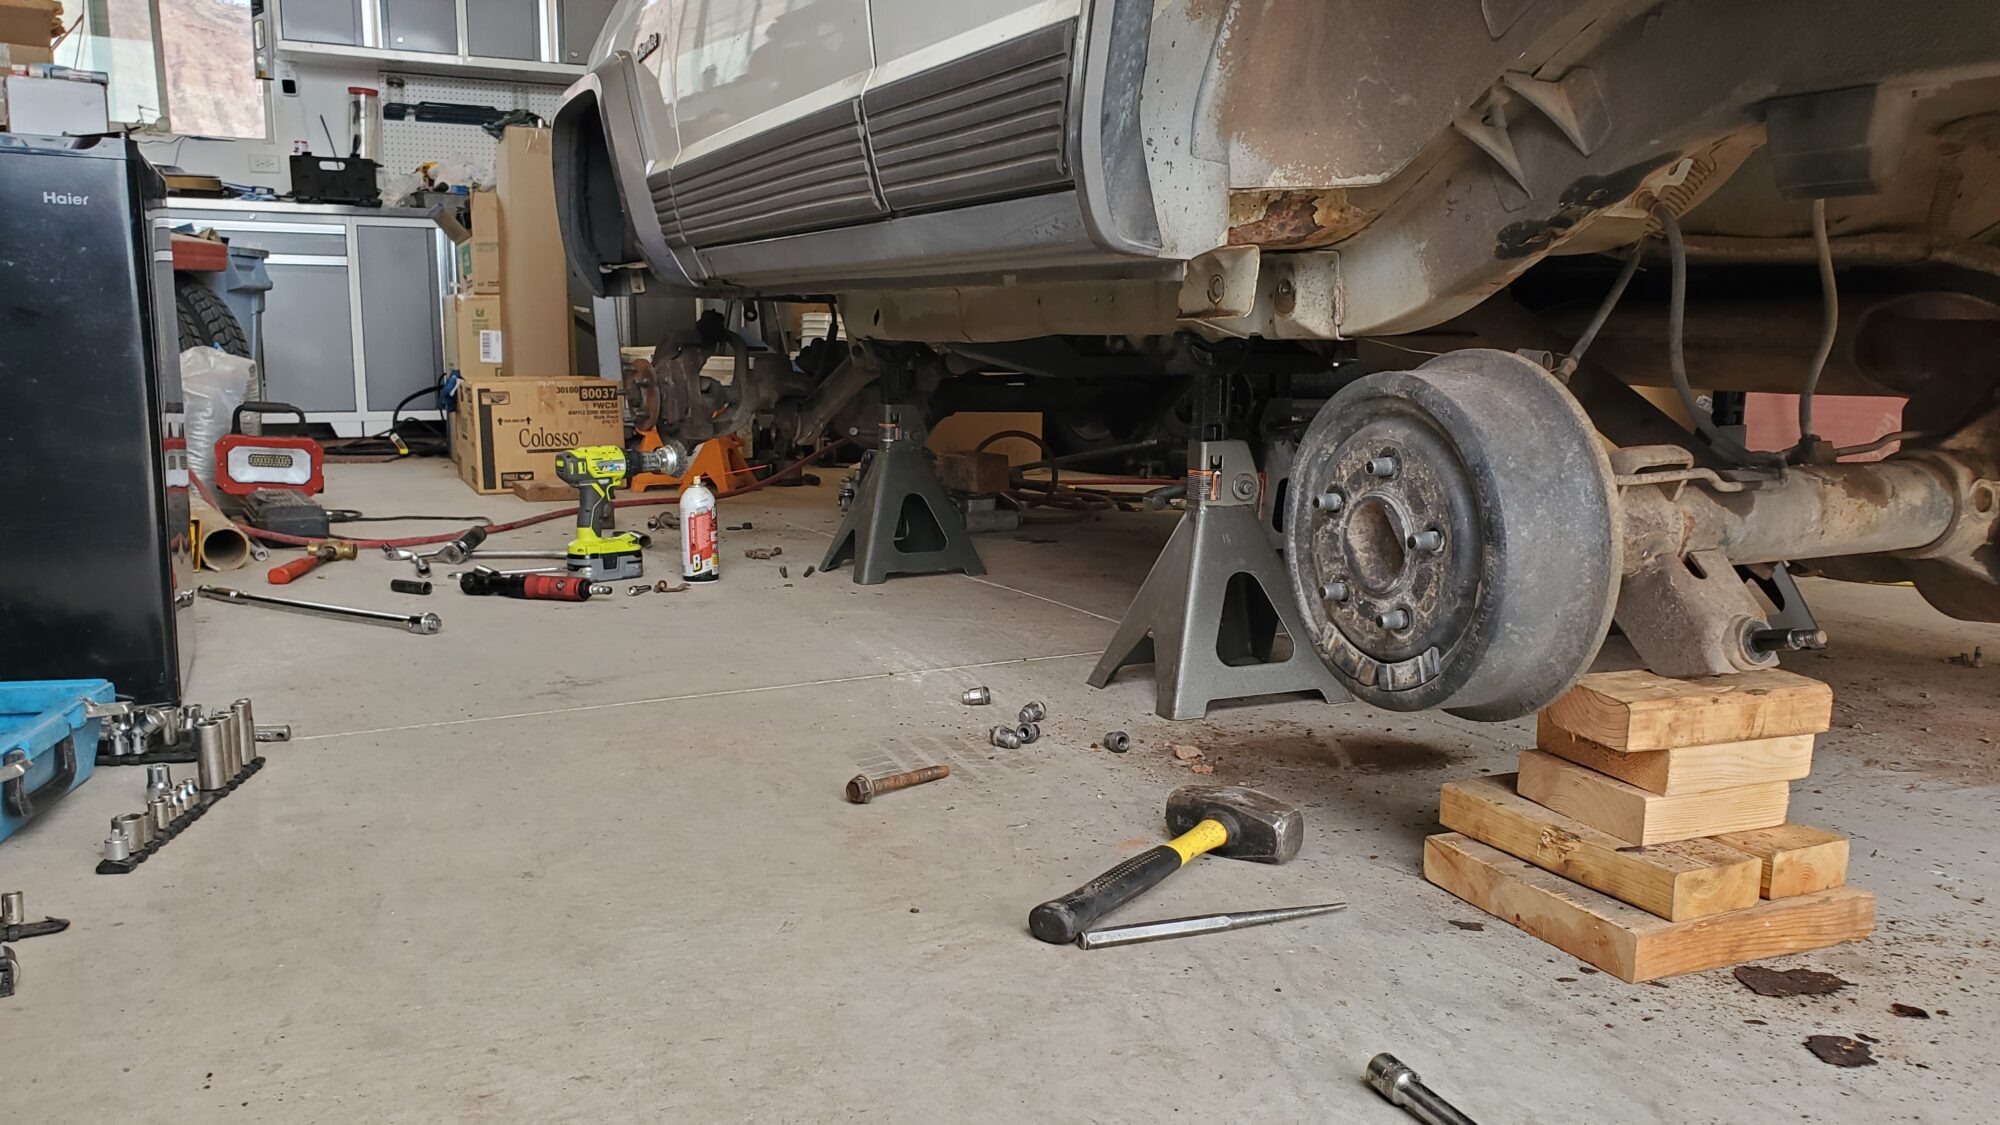
Drop Ike back on his tires and torque everything up. A quick measurement shows that the front is up 3″ and the rear is up 4+”. Now, it’s a bit higher than I’d like, but all 4 corners are even. Before Ike had a droopy rear, so I’m happy that he’s level now. But the tires look kinda small. Tire to order up the tires!
At this point, the front end parts start arriving and I jack Ike back up and take the wheels off. Since I have the ball joints to do, I pull the brakes. Next are the hubs. Loosen the 3 bolts and it doesn’t want to budge. Heat. Blaster. More heat. Use the brake disk as a slide hammer. Nothing.
To the internet! First video, after scrolling through all the preamble BS, undo the 3 bolts (duh), and just pull. Oh, fuck off! You can tell his was already loose. Dick. Finally find a real video and they show how you place a socket extension behind it and turn the wheel, pressing it out. Works like a charm.
Time to remove the knuckle. Pound, pound, pop. Oh shit…that’s not suppose to happen. The upper ball joint separates in two, with the tapered end stuck in the knuckle. It’s a good thing I’m replacing both the ball joint and the knuckle! Grab the ball joint kit and press the rest of the upper and lower joints out.
It goes back together easy enough. And the other side, is exactly the same. Including the upper ball joint separating. The only difference is a stubborn cotter pin that decides to stay stuck in the ball joint. I eventually snap all 4 end pieces off at the stud and torque the nut off. The rest of the install is easy peasy.
Throw on the wheels and do a quick toe set and align the steering wheel. I’m not a fan of the new steering setup clamps, but they work. Back out of the garage… and what’s that noise? Roll under the jeep. Shit. The new heavy duty steering end hits the stock wheel when the wheel is about halfway to the left stop.
When reviewing the install instructions, I do see a short blurb about how certain small stock wheels may not work. Damn it! But with a quick jack up and backing the lug nuts off, I realize that a small wheel spacer will solve the issue. Luckily, there is a local company that is known for making good quality ones. I get those on order and then throw the 16″ wheels with snow tires on. No rubbing. I’m getting the new tires installed tomorrow, but when just throw the 15″ tires into the back. Guess I’ll wait to put the new tires on until the spacers show up. Sigh.
Eventually (because time slows when you are waiting on parts to arrive), the spacers show up and I end up using two, basically maxing out the spacing without having to go to longer wheel studs. But it works. Not a lot of room, but it doesn’t rub anymore.
Driving it around with the new lift and tires and it is definitely a different vehicle. The new ball joints list that they take a while to wear in and they do feel a bit “sticky”.
I still have a list of other items to fix, but that will wait until round 2. It’s minor issues like: the rear diff has a noisy bearing on throttle lift; the front diff had a noisy bearing at high speeds; it can overheat if driven over 70mph on days over 100F. Details. Other than that, the mother fucker’s tip top!
