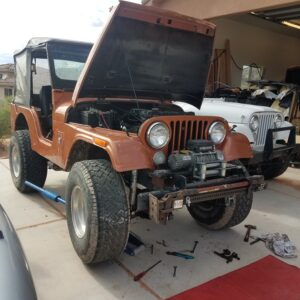
The Deuce
Being fed up with the transmission rebuild, or lack there of, I decided to put the 76 transmission and transfer case into the Deuce. Thanks Humpty! Not that it’s a great transmission, but it should allow me to drive it around so I can find more shit to fix.
First thing was to check that the clutch and input shaft would mate. I used to clutch alignment tool and it slid into both just fine. I would have to swap over the bell housing and drive shafts since the input shaft on the 76 is about 1.5 inches longer, moving everything with it. I know the bellhousing will fit, as it is the same engine block on the two engines. Drive shafts will easily fit as they use the same u-joints. There are a ton of holes on the frame, so the crossmember is bound to fit somewhere.
I bolt the transmission and transfer case back together. This all goes smoothly except the one nut decided to play hide and seek. After 10 mins of looking, I just took the one off the 75 t-case. As long as the nut didn’t fall into the case, it’s all good.
Pull off the transmission shifter, and take off one bolt on t-case shifter so it folds down and place it on the transmission jack. And it juuust slides in under the muffler. Nice.
Jack it up and slide it forward. It goes together nice and easy. Slide it forward with a bit of side to side jiggling and it gets close enough to throw the 4 big bolts in. I get my situp exercises in for the month going back and forth, slowly drawing the transmission onto the bellhousing. It was smooth sailing, although not quick, until the last quarter of an inch when it got started taking a bit more effort. Eventually, I pulled it in evenly.
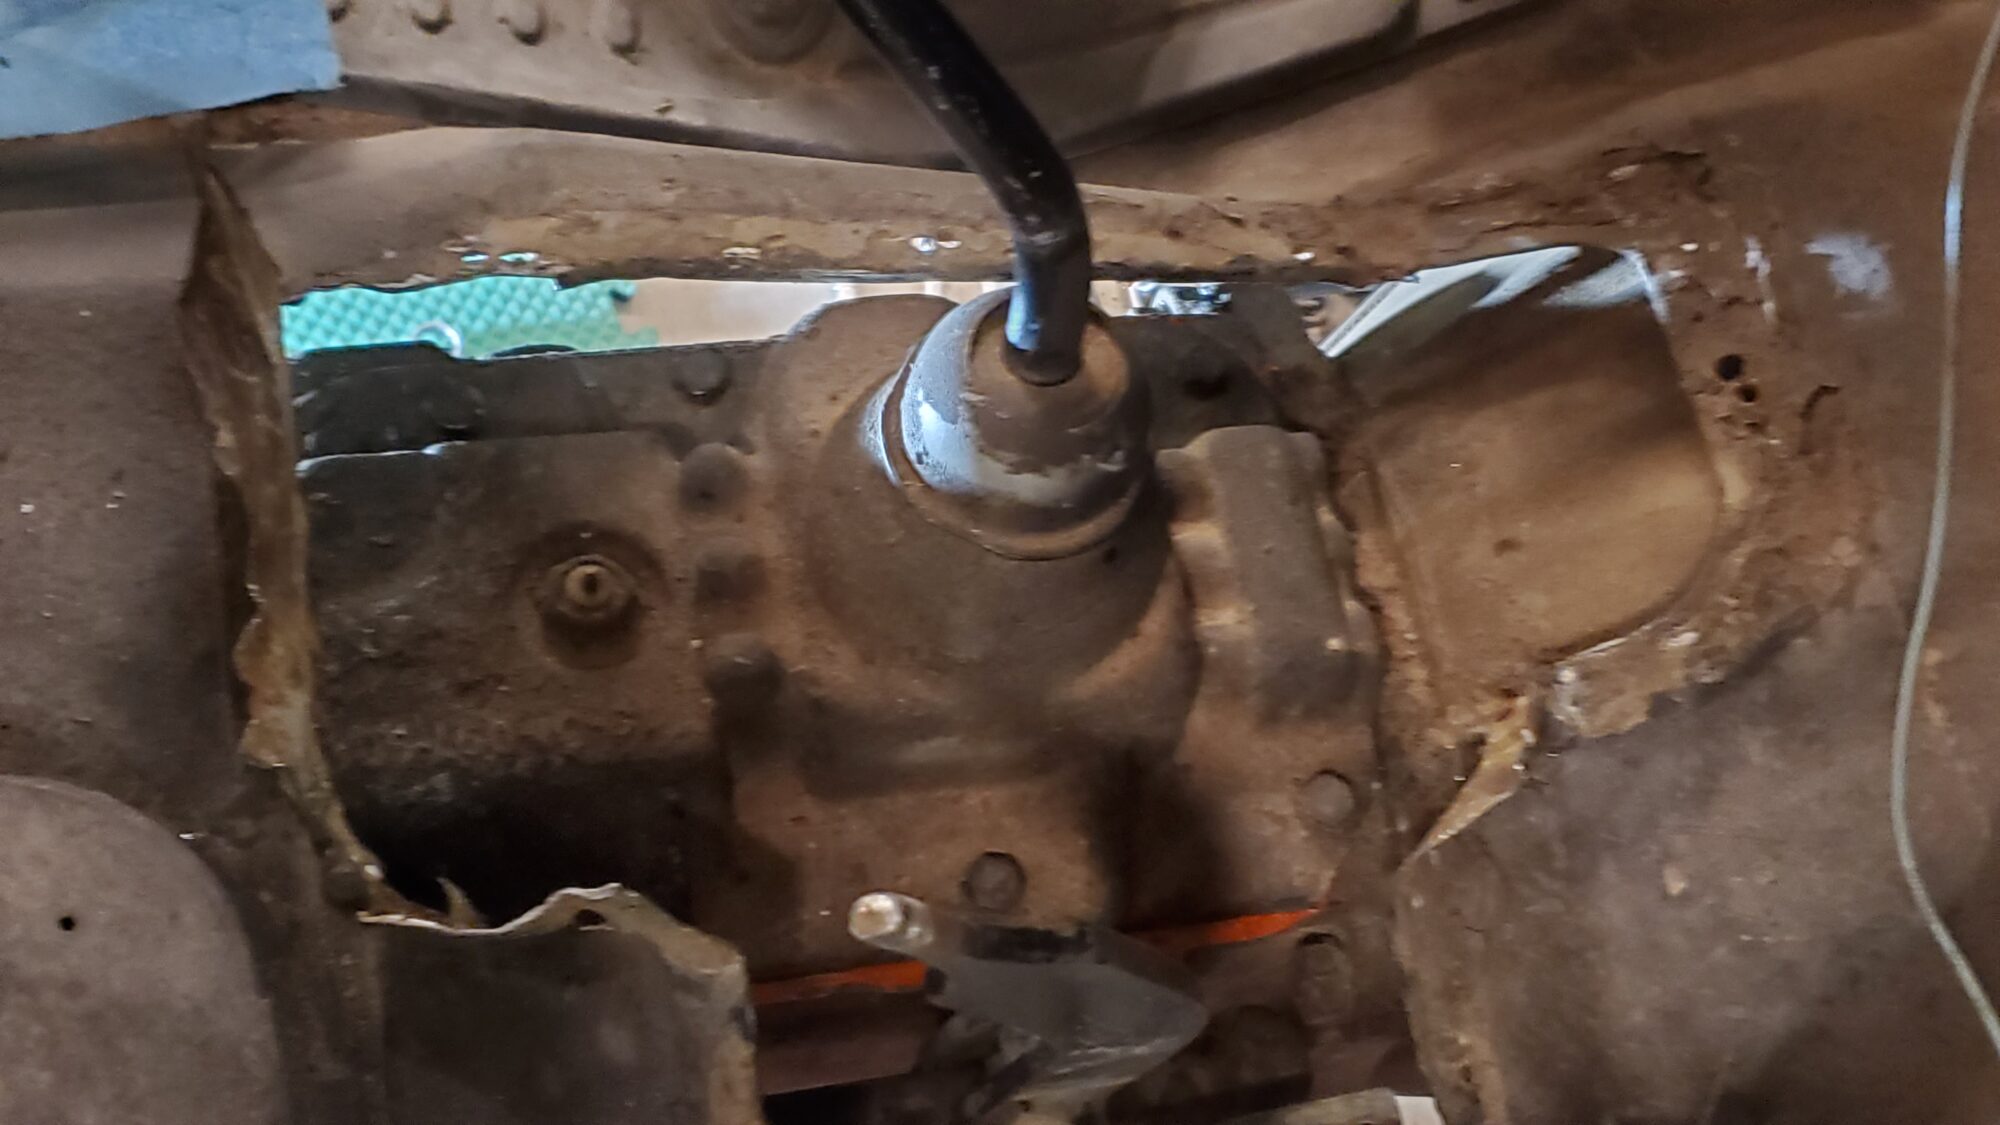
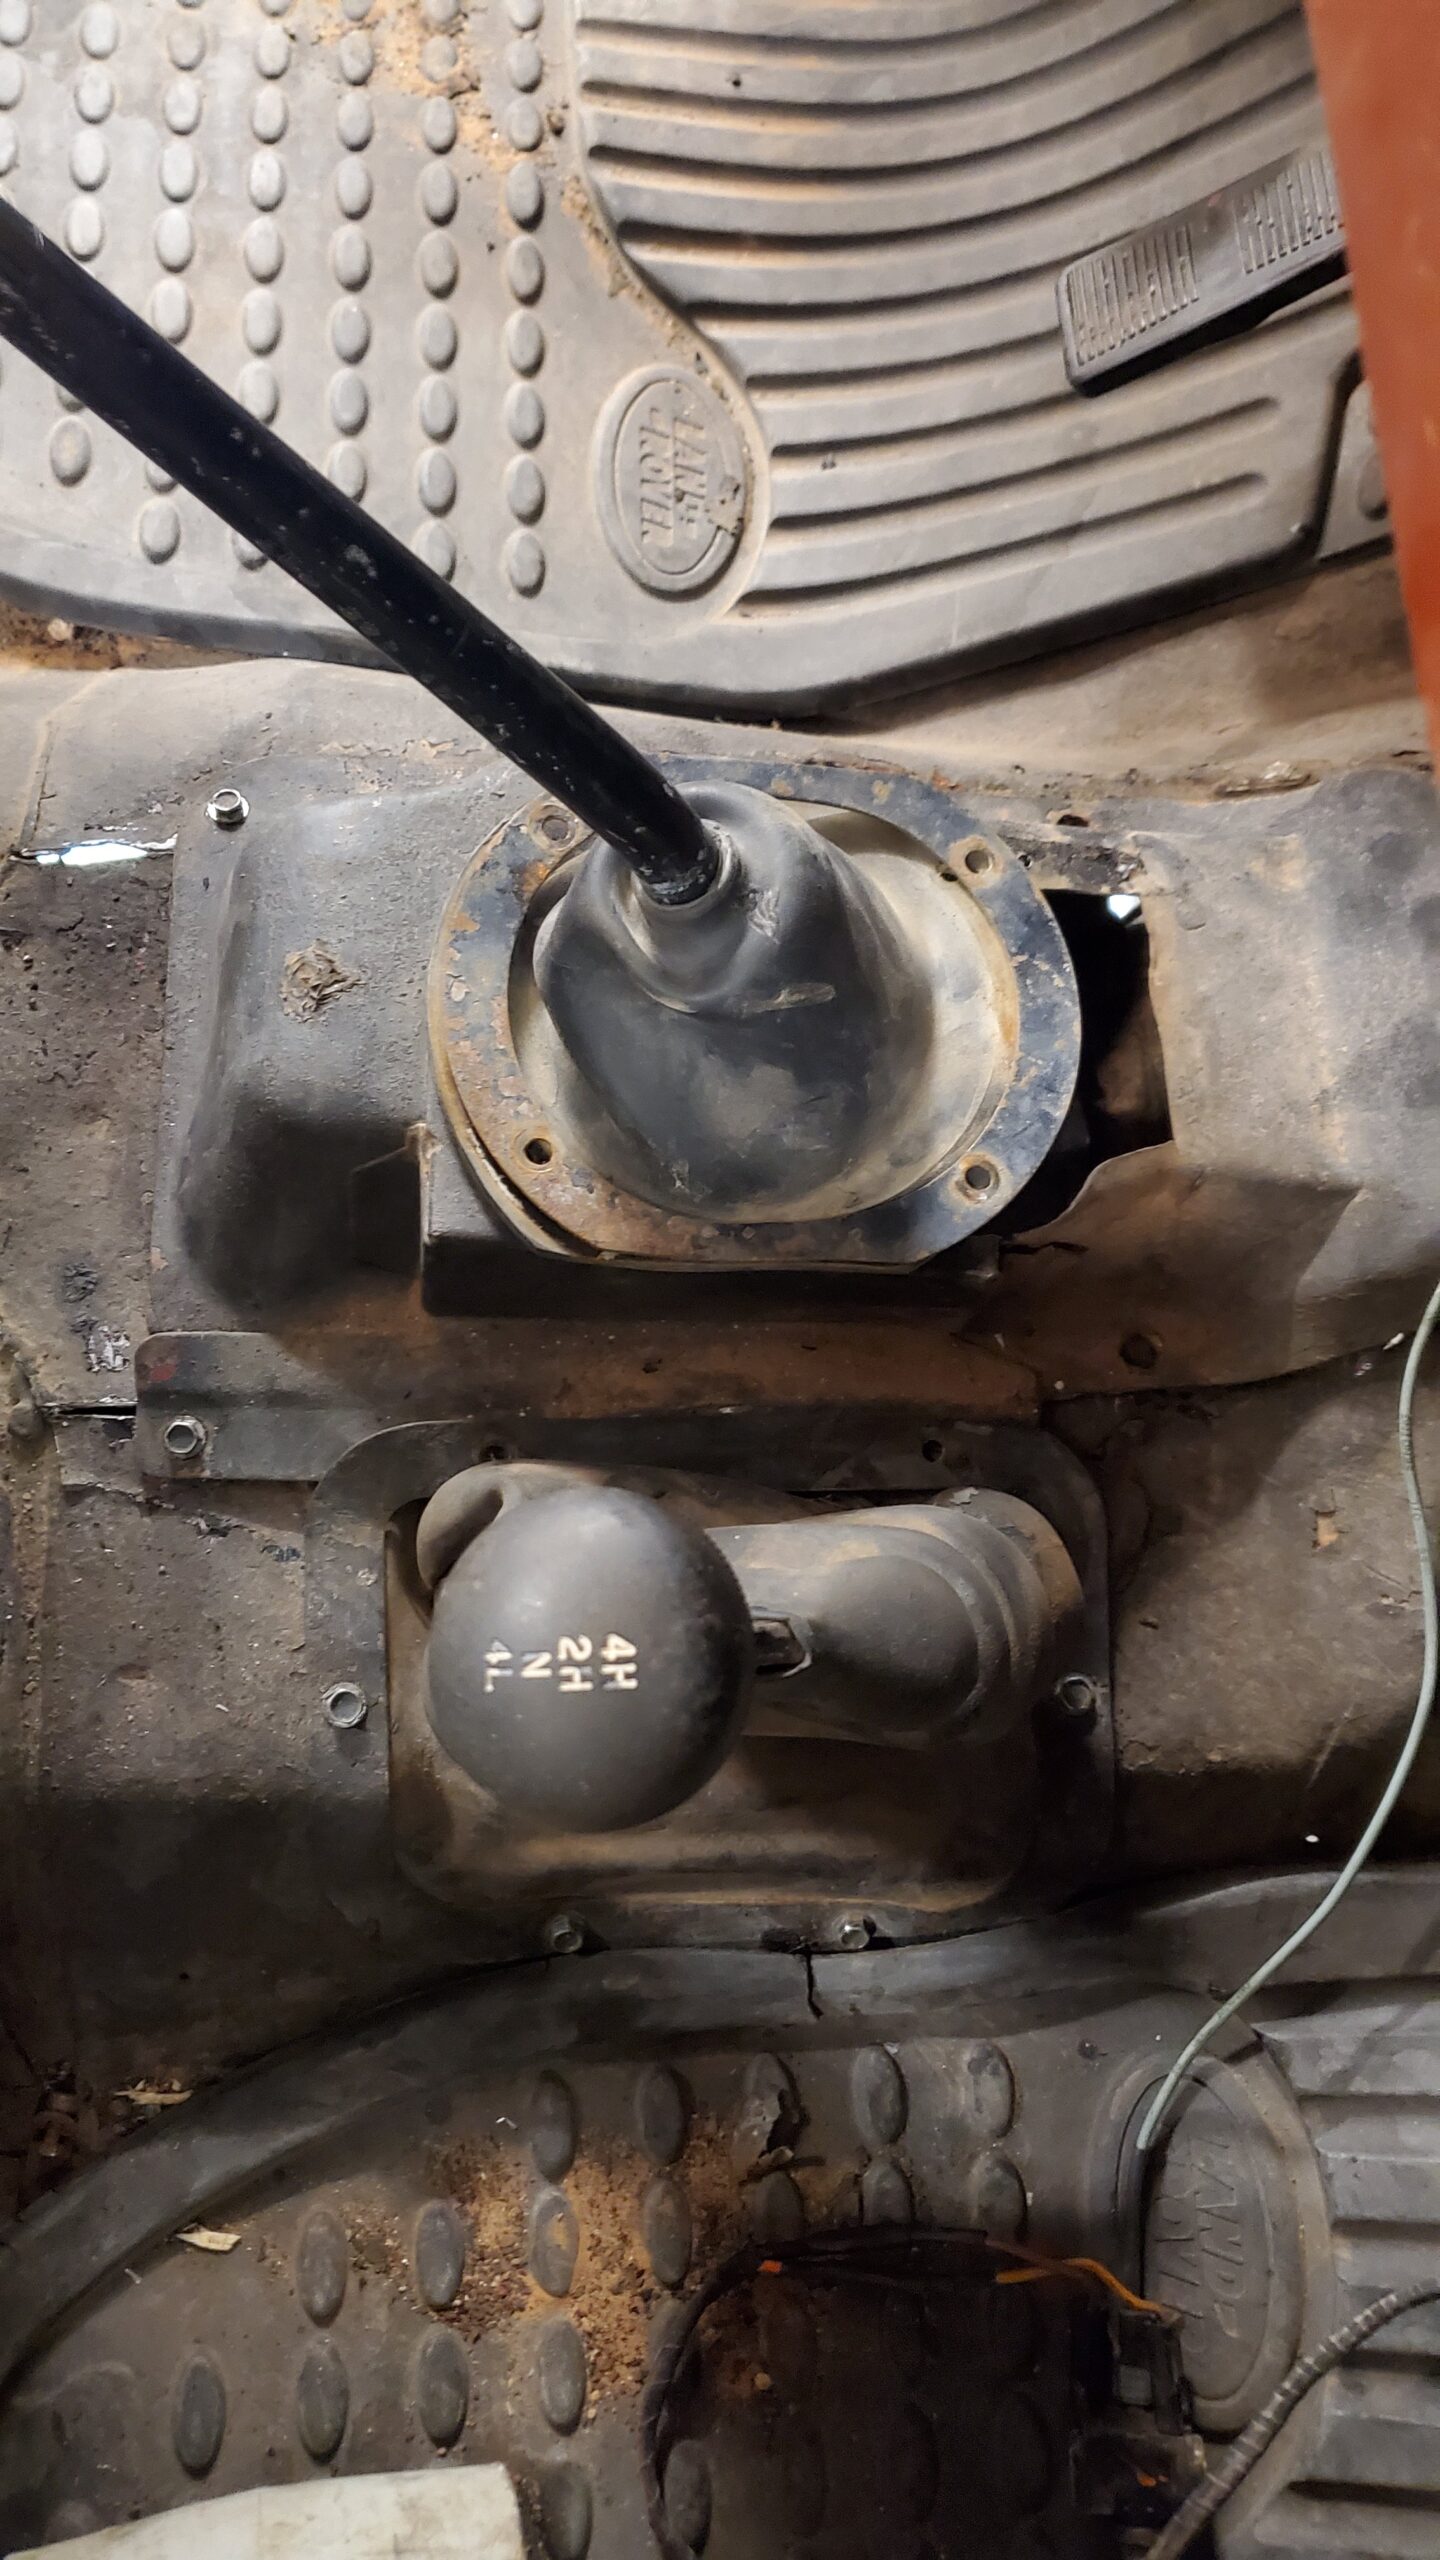
Go up top to put the shifter on and… Shit. So, this trans/t-case combo sits back 1.5 inches from the set I took out; however, it puts the driveline back to the stock location. So, no problem, right? Wrong. Looking in from the top, the small transmission shifter plate isn’t quite big enough to install the shifter through, but that’s fine because there is a bigger floor plate that can be removed for this purpose. Except that on the Deuce, someone glued and welded it on. No bolts. Those asshats.
I try dropping the jack to gain clearance, but there is just not enough room to get the trans shifter in through the top while dropping the forks into the trans. Shit shit shit. OK, fine. Fuck it. I break out the cutting wheel and cut the larger plate straight back on either side and bend the plate vertical. I also have to bend two corners out of the way.
Now, doing this and angling the transmission JUST RIGHT and pulling the reverse switch off, it fits if I hit it with a hammer and pry with a screw driver. Then I have to take it back off as I didn’t put RTV on it yet. Back together, RTV all over my hands, I declare success!
One thing I had to modify was the hydraulic slave cylinder for the clutch. I needed a rod that was 1.5 inches longer. I make one up, install it and test it out.
Oh, what’s that on the ground? My missing transfer case nut. So I put it back with the 75 t-case. At least I don’t have to check inside the t-case.
The clutch feels weird. Like it isn’t fully disengaging. Testing the rear driveshaft, it won’t turn when the transmission is in gear. In neutral, everything spins nice, but the input shaft won’t disengage at the clutch when you select a gear.
The throwout bearing and the clutch look like they have decent contact through the bellhouse window. Huh. I know it is the 75 clutch and pressure plate, but it all seemed similar. Then I remember that I didn’t measure the 75 pressure plate and clutch as I left them installed. Oops. Could that be the problem? I decide it’s dinner time and quit for the night.
That evening I decide I might as well take it back apart and make sure everything is correct. Sigh.
The next morning, I pull off the reverse switch, pop the transmission shifter off (getting good at that struggle) and lay down the t-case shifter. Four more bolts and I pull the drive train back. It’s a bit hard initially, mimicking the struggle to tighten it up. After 1/4″, it slides right out. Hmmm. Clue.
Knowing I’m going to put it back it, I leave it jacked up on the trans jack. Throw the calipers on the pilot tip of the input shaft and then check it against the 75 trans. Oh, that’s not the same. The worst part was that I thought that was the first thing I checked. Guess not.
And that would definitely cause the input shaft not to spin… Hard contact into an undersized bushing.
Luckily, the pilot bearing comes out of the donor engine really easily with a couple of pulls of the sliding hammer. To get to the Deuce’s pilot bearing, it would be best if I removed the pressure plate and clutch. This is an easy decision as I want to check those components as well. So, off them come.
The clutch has a slightly different construction and is 1/4″ different in axlial length. I doubt that is any problem. The pressure plate in about 1/2″ taller at the fingers. Not too different, but maybe just enough.
So, I start again. Install the clutch and pressure plate. Now, because the clutch alignment tool I used was designed for the smaller pilot bushings, I had to wrap the end with electrical tape to get the required diameter. But it worked. Or I’ll know soon enough when I install the trans.
Bolt up the bellhousing, starter and clutch slave cylinder. Line up the transmission and transfer case combo and slide it in. It goes together MUCH easier the last 1/4 inch. Torque up the four big bolts, and before I put the shifter on, I test the transmission again. With the clutch pedal wedged to the floor, I can barely turn the trans. It isn’t the easiest as small as the output flange is. But movement means it’s good, right?
Slide, hammer and pry the shifter cover back on, install the reverse switch and bolt the t-case shifter back together. I bend the floor panels back to shape with a little hammering just to work out some stress. Good enough. The shift boot for the transmission isn’t great. It’s an aftermarket boot placed too far forward. So I unbolt it and dig out the donor shift boot. It lines up to the rear stock location. Score. The front doesn’t line up because they had cut that section out. So I have a 4×4 hole in the floor in front of the shifter that I’ll need to figure out. The t-case shifter is much easier. It just fits.
Grab the 76 front driveshaft and clean up the caps and grease fittings. Then install and grease. Install the crossmember and skid plate. I get 3 of 4 bolts installed. The fourth? I’ll have to drill a new hole for that one. Three quarters of the bolts are good enough to remove the jack and behold the magnificence of an installed drive train.
Except the 76 rear drive shaft has gone walkabout. I spend way too much time looking for it. Double check the rear axle still attached to the Deuce and it’s definitely 1.5 inches too long. Huh. Give up and go in for dinner.
The next day after work, I head into the garage and start digging around my jeep parts. There are a lot of them, but I’ve been attempting to be smart and boxing parts by vehicle. Sure enough, there in the Humpty Dumpty box is the rear driveshaft. How does a driveshaft fit into a box? It’s only 15″ long. Amazing how short that is.
Throw on the rear axle and finish the crossmember install. Just drilling a new hole in the frame. No big deal. Time to fill up the cases with gear oil. Except that with the skid plate on, there is no way to tighten (or later loosen) the drain plug. Rather than drop the skip plate, I figure it would work better if I drilled an access hole in the skid plate for future gear oil changes. So, make a big hole with metal bits everywhere!
Then it is time to pump gear oil into the trans and t-case. And on the floor. And all over myself. I really need to get a better oil pump.
Since it is now late at night, I decide it’s more diplomatic not to start and test drive the Deuce. My neighbor’s dog already alerts everyone when I go outside.
The next time in the garage, I’m busy with another vehicle but the Deuce keeps calling. Eventually, I break down and start him up. I do this with the transfer case in neutral, just in case the clutch won’t release. And guess what? It doesn’t.
WTF? At this point everything except the flywheel and engine is from Humpty. Even though it feels like the pressure plate is being released, the clutch won’t spin. I’m not using the clutch lever from Humpty, but rather the hydraulic cylinder that was on the Deuce, except I substituted a longer rod to make up the extra distance. While laying under the Deuce with the back tires off the ground, I can actuate the lever as far as it will go, and the wheels still won’t turn the clutch.
At this point, I start researching throw out bearings. It seems there are 8 different sizes. While I had assumed that the one taken from Humpty was correct, I had no proof it was. To move Humpty around, you just threw it in neutral and all was happy. Never had a need to push in the clutch. This was from the same “mechanic” who had blown his freshly rebuilt 304 V8 in 5 minutes. No telling what other horrors lurked on that beast.
I had seen several of these horrors already during the teardown. Bailing wire holding the choke cable together. A pice of a street sign as a firewall plate. Electrical wires twisted around a bare connector. Heck, the frame had been cracked, welded and cracked in another place. Not to mention it was bent. So why did I assume his work was legit. Call me an optimist.
Playing around under the Deuce, it is plain to see that the throwout bearing could be longer. Plenty of room on the relaxed side and it felt like it stopped hard just before the pressure plate completely disengaged.
There is a lot of heavy sighing.
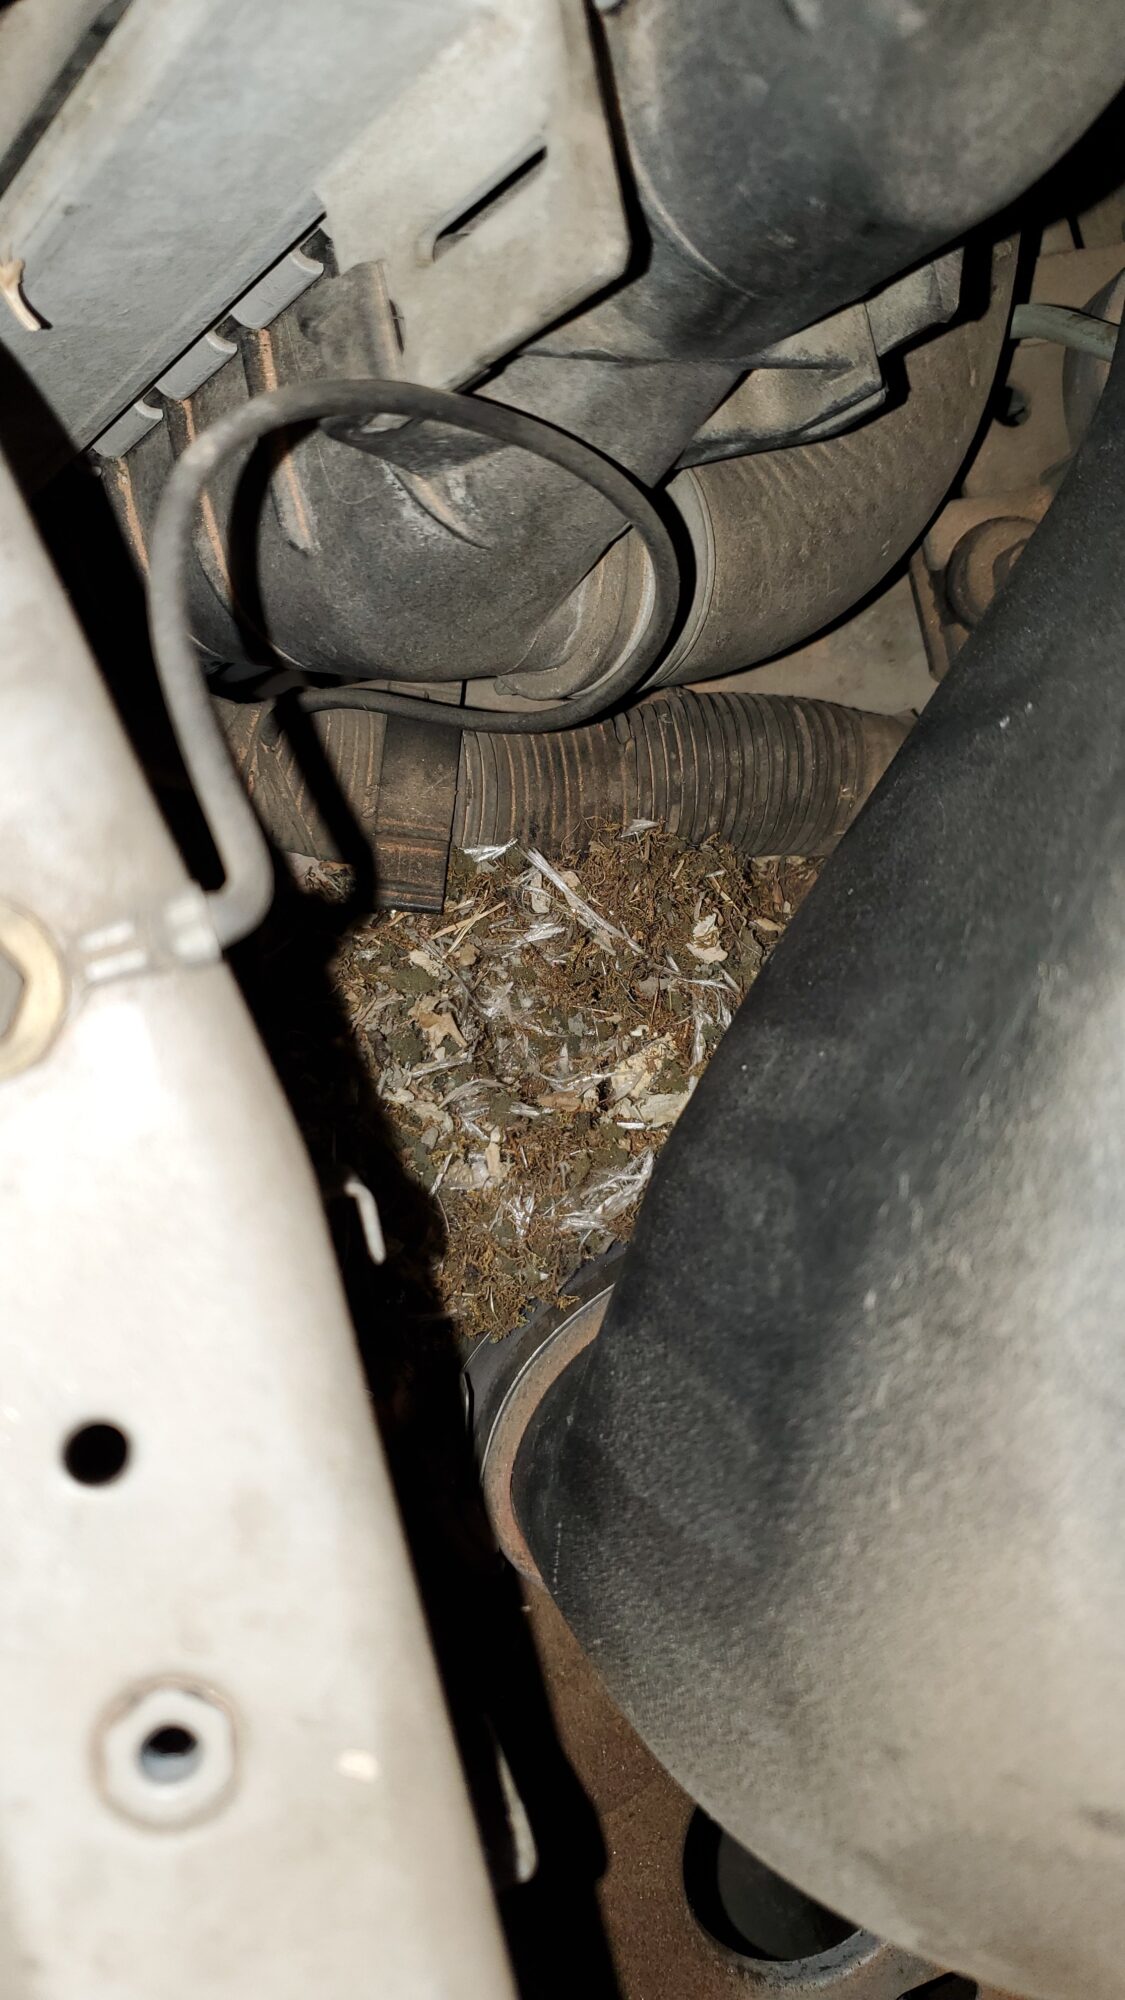
Rather than dive into fixing it immediately, I work on getting my wife’s old Z28 for sale. There isn’t much wrong with it except for a bad window motor, a cracked dash and a dead battery. Need to remove the nest by the air intake. Oh, and throw out a bad O2 sensor once I start driving it.
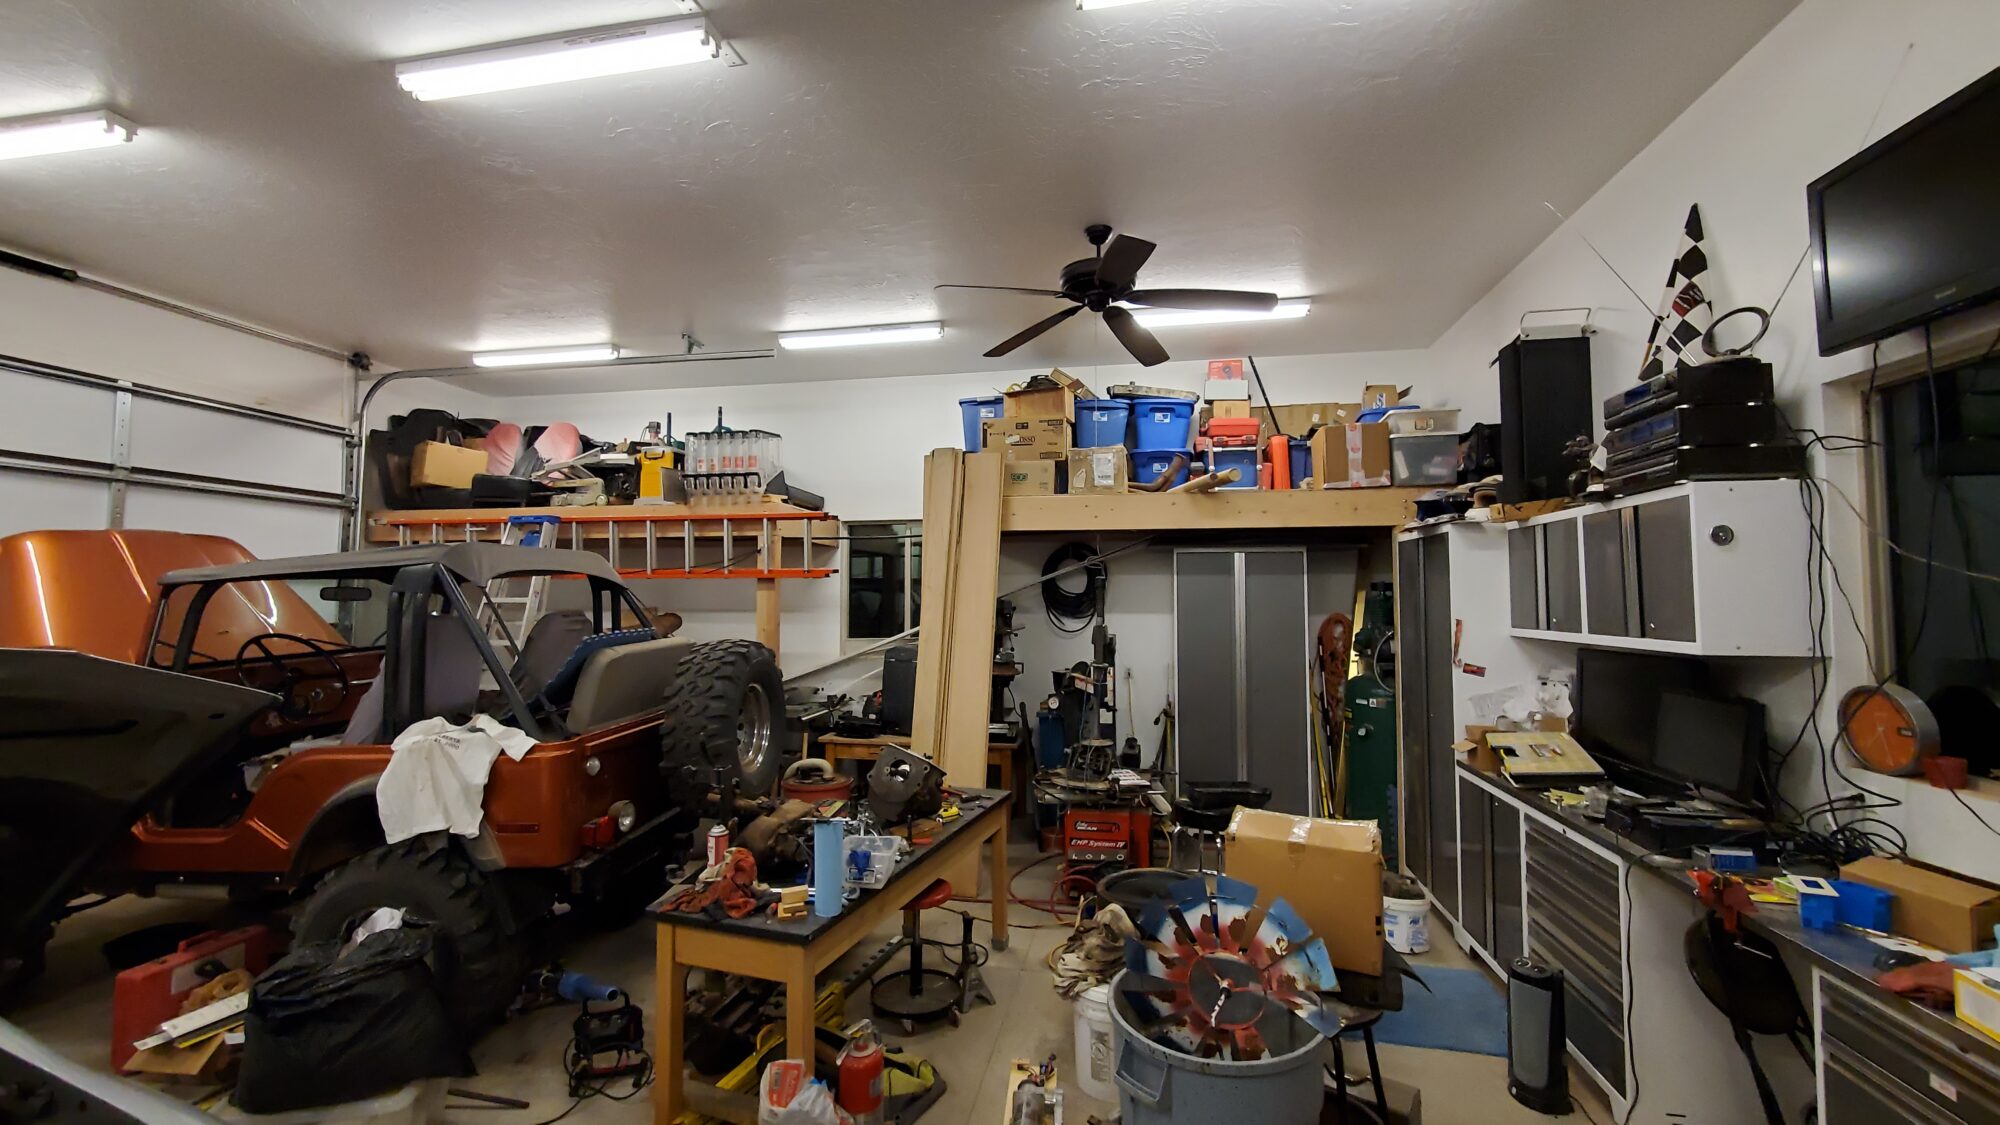
I also start organizing the garage. Can you tell I’m avoiding the Deuce? Now that I just put up two large 4′ x 12′ storage platforms, I have plenty of storage. Right? I fill them with plastic bins filled with Vixen parts, boxes of jeep parts, lots of spares, and tools that I don’t use that often. They are packed and there is still stuff on the floor. Oh well.
Some of the parts I was moving around were the power steering parts off of Humpty and the original bumper and winch from the Deuce. Why not throw those on? At least least it isn’t pulling the transmission again. Don’t worry, I’ll get to it. When I’m damned ready.
The winch wasn’t too hard to install, yet the control box didn’t want to go back on where I had removed it a few years ago. The biggest issue was figuring out that there was one wiring missing from the setup; the big ground wire from the winch to the battery. I measure it out and add it to my shopping list.
The power steering was interesting. Figuring out where the pump bracket mounted to the engine was easy, just needed a tap run into the threaded holes to remove decades of road crud. Also, one of the water pump bolts needed to be replaced with a double ended stud. Luckily, I had one I had taken off Humpty. And I knew exactly where it was. Up on top of the parts pile on the new shelves. Luckily, I had placed the water pump and all parts in one small box. Easy peasy.
As I removed the Deuce’s original water pump bolt, I notice that it is rusted. Looking as if it sat it water for a while. Hmmm. Maybe they didn’t seal around the pump well. I notice that the pump is already seeping a little. I throw the double ended stud in, hoping it will tighten up.
Getting the whole two piece pump bracket installed is fun, especially since there in an air pump installed on the left inside fender. But miracles of miracles, it all fits. If you consider 1/8″ clearance good. After I get it all snugged up, I assess the fitment. The distributor might need to be rotated and wires swapped as the vacuum advance hose looks like it would go under then over the power steering belt. A couple of plug wires graze the pump bracket leaving the distributor. The fuel supply line and return lines, both hoses, need rerouting. The supply is pushed back way too close to the exhaust manifold, and the return line goes right across where the belt will be.
I also notice that the coolant is still seeping from the left side of the water pump. Great. Do I have to remove it all to reseal the pump? I’ll wait until tomorrow to see if it self heals.
Denial: the most effective human mental coping mechanism.
Looking at fuel lines from various internet pictures, it appears that originally there were hard lines between the pump and the carb. Mine is almost exclusively hose. Hmm. If it needs fixing anyway, maybe I can do it correctly. Maybe.
A week later, I get a couple of days to work in the garage. It’s time to quit ignoring the issue and tackle this transmission. Again.
This is becoming old hat. I can probably do it in my sleep. Disconnect the drive shafts and drop the skidplate/crossmember combo. Pull of reverse switch. Bend the floor sheet metal just right and pull the shifter. I even have a cover to prevent dirt and tools from falling into the trans to throw on. Four more bolts and pull the transmission and transfer case back.
After pulling out the throwout bearing and measuring it, it is already longer than the longest one on the possible throwout bearing list I ran across. Humph.
There is one other thing to try; lengthening the pivot point. This is a small tower that screws into bell housing and has a cup at the top for the throwout arm to pivot around. And the nice part about moving this is that it requires only half the distance that I needed to cover with the bearing. I screw it out, find an appropriate fat washer and reinstall.
I reinstall the clutch slave cylinder and try the clutch. The friction point feels like it is halfway down the pedal. Better than on the floor or way up at the top of pedal movement. The arm looks much better positioned inside the bellhousing. And I can even rotate the clutch disk by hand when the clutch is pressed. This is looking good.
Or at least better.
I check the alignment of the clutch disk with the centering tool. Then I push the trans back in and bolt it up. Again, I check the operation. Clutch out, I can’t spin rear drive flange. Clutch in, and I can! Much more promising than last time.
Time to put it all back together. But, as always, there is something to fix first. When I initially installed the shifter cover, I used my trusty old tube of ultra copper as the color goes well with the jeep. Or whatever, it was the first rtv tube I grabbed. Well, it never cured. When I first applied it, it was a bit cool, but after 4 days, it was seemly more liquid than when I applied it. Did some research and it turns out that can happen to unused rtv that sits around for a while.
You know how rtv loves to stick to everything and not come off? Yup. My whole hands were orange (gloved, thankfully) and I went through a ton of paper towels getting all the old crap off. At some point, I just gave up with some areas having a slightly orange hue to them. At least the gasket surfaces were cleaned.
And then reapply new rtv. This time black. Worked great.
I finish up the re-re-reinstall of the trans and all its components. Should I try it out? Looking at the clock makes me think I should wait just to keep the neighbors for rioting. The Deuce is less than quiet, even at idle. Instead, I’ll look at where I left the power steering install.
The pump is installed, but that is all. Oh, and that coolant leak didn’t magically fix itself. Sigh. Oh well, I’ll tackle all that tomorrow.
First thing I do is locate the power steering box from Humpty. It is filthy, so I scrub it down. This is way more effort than it sounds. I pull the manual box off the mount and put try to bolt up the power box. This is when I realize that the steering shafts aren’t the exact same diameter. Of course not. Leaving the box hanging by one bolt, quickly compare lengths of the existing steering rod and the one off Humpty. I discover that they are the same length, giving a thankful shout.
Unbolt the old, throw on the new and finish installing the power box. One added bonus, the power box and shalf are just about a half inch longer to the u-joint. This helps push the joint off the exhaust! I had been looking at ways to pull the steering wheel up, but this works just as good.
Then I go to install the fittings. Of course, they are so close to the bottom of the radiator, that I can’t install them without removing 2 of the 3 pump bolts. Again. Lines attached, I bolt the pump up a third time and torque it up. Final torque on pressure lines, I hope, and I call it good.
Staring at the front of the motor, I just can’t ignore the water pump seeping. So, time to yank that. Fan, off. Alternator, yoink. Alternator bracket, sigh then pull. Power steering pump brackets, swear, then remove. Hoses? Better drain the radiator first. Doesn’t matter, they all still drool coolant anyways. Oh, and they don’t like coming off. The hose for the heater gets destroyed during removal. The upper hose, the thermostat bypass, looks to have been leaking already. The lower hose eventually gives up.
The water pump is held on by 4 large bolts, 1 of which got pulled when I removed the alternator bracket, and 7 small bolts. The first small bolt snaps off as soon as I put any torque on it. Oh, this is going to be a shitshow. I work the other bolts out slowly. Most come out easily, but one of the bottom bolts starts to become difficult and I just wait for it to snap as I slooowly back it out. After 20 minutes, it is free, but I trash it, just in case it stretched. Inspecting the other bolts, they are all grade 5, expect the one that snapped. Go figure. Luckily, extracting the remainder of the bolt was relatively easy. The previous installer must have just over-torqued and stretched the bolt. Much less of a shitshow than I expected.
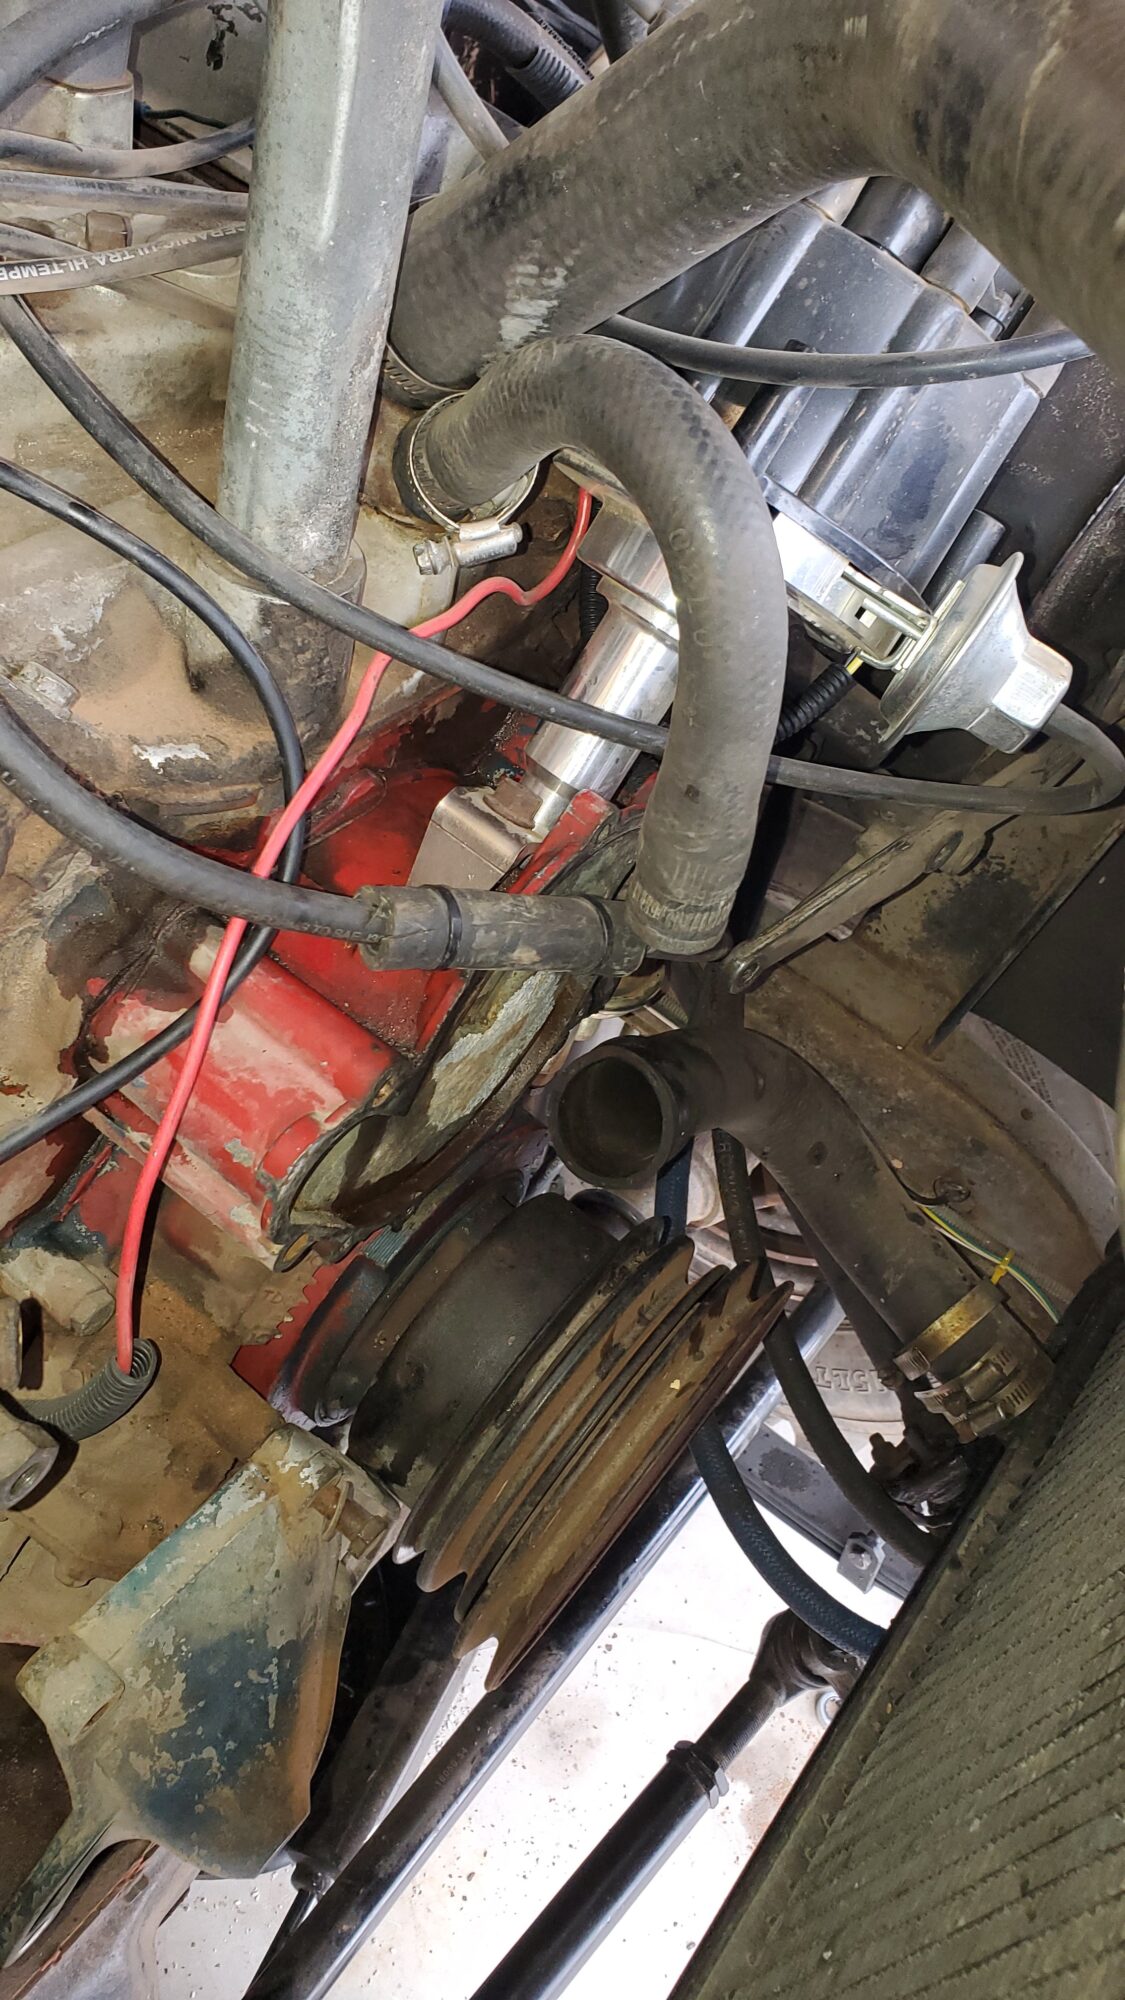
Off come the big bolts and the water pump basically falls off. Not a lot of grip there. Whatever gasket they used is now rock hard. It is well stuck to the pump, but definitely not the housing. Now I understand why some of the bolt holes are full of coolant.
The pump itself spins freely and smooth, so I spend the 45 mins scrapping and cleaning up the old hard gasket surface. A big flat file points out a few high spots that get knocked down. Brake clean and wipe both surfaces and ready for RTV. I make sure I have the correct hardware and clean up the threads. Tap all of the holes and blow them out. Reinstall the pump and torque it up.
Digging through my old spares box, I find a prebent heater hose, that if I cut it correctly, can replace both old ones. I thought I had a new lower radiator hose, but nope. And the one from Humpty looks rough. Meh, I can reuse the old one. Throw on the hoses.
Reinstall everything that I yanked off, finishing with the fan. Realize that I have no regular coolant. I’ve got the GM dexcool that gels up. And the Asian stuff for the wife’s Honda. Since my system isn’t 100% drained, I don’t want to mix. So, it’s off to the store.
Get home and fill the radiator. Hey, my feet aren’t wet yet. That’s a good sign. I also fill the power steering reservoir and spin it to bleed the bubbles out. At this point, I realize I have no power steering belt. There should have been one off Humpty, but all I can find is an old fan belt. It would have been smart to get that while I was buying the coolant. Would have.
And once again, it’s late at night so I have to wait until shops open and neighbors are awake. Sigh.
The next morning, I just poke my head into the garage to make sure there isn’t a puddle of coolant on the floor. There isn’t. Mainly because I left a drip pan in a very strategic location. It appears there is coolant leaking from the lower radiator hose at the pump, which drips down onto the new power steering pressure hose and drips into the pan once every 10 seconds.
This was fortuitous as when I attempted to tighten the hose clamp, I saw that the screw head was touching the fan belt. Loosen clamp, rotate away from belt and retighten. The dripping stops. Miracles!
I also notice a couple of power steering drops floating amongst the coolant in the drip pan. Huh. Looking up, I see a drop forming on the low pressure return line to the pump. It does not appear to be coming from the fitting, but seeping from the hose weaving itself. I assume the hose behind the protective weave has a small pin hole. Every time I soak it up, it slowly seeps out again. I’ll just keep an eye on it.
Unfortunately, it’s off the work before I can fire it up. This work thing is really digging into my free time!
Eventually, my weekend rolls around. It just happens to be on a Tuesday. The power steering line is still slowly dripping, but not fast enough to watch. No new coolant! Time to open the garage door and see if all this work comes together.
The Deuce fires up with only a couple taps of the gas pedal. He’s raw and loud. Especially with the header exhaust gaskets leaks. Yes, multiple. I’ll fix those later. He need a bit of gas to idle as the cam it slightly more aggressive than stock, but soon it is popping and banging on its own.
Now, I’d left the rear axle jacked up and the transfer case in neutral to I could try out the clutch without having the jeep move around. The gearbox feels cold and stiff, and doesn’t shift easily, but the clutch feels like it works this time. Score!
Time for the real test. Trying to shift the transfer case into gear and I get some grinding. Push the clutch in and it goes into 2 low easily. Interesting. Let’s let the clutch out. The rear tires spin… But the trans is still in neutral. What?
I double check that, yes, I am still in neutral. And I can push the clutch in and the tires stop moving. Trying to select first gear results in lots of grinding. Second gear complains a little bit but goes in and the tires spin faster. Clutch in, they slow to a stop and clutch out in neutral, they spin again, albeit slowly. It’s as if the manual trans is acting like an automatic, with the output shaft being spun by the input shaft. Maybe I put in the wrong gear oil?
Leaving the Deuce running up in jacks, I jump down and check the gear oil I used. It is the correct weight. Whew! I go back and grab one of the slowly spinning tires and it stops easily. OK.
Slowly, I realize that it has probably been a long, long time since this transmission has spun. Who knows how long it sat with the two previous owners. I had let it sit for over a year.
So I just let it spin around at idle in various gears.
And sure enough, as the fluid warmed up and flowed into all the little needle bearings, the shifting became easier, the grinding stopped (mostly), and the rear tires stopped spinning. Once new fluid was through the entire transmission, it was fine.
The worst thought crossed my mind: what if the clutch was working correctly the first time and it was just this fluid issue. Naw. That would be depressing.
So, finally, I drop the jack and the Deuce is on all four tires again. It goes forward. It goes back. It stops and steers! No coolant spraying everywhere. Only the power steering drips. I’ll call it 95% good and give myself an A.
After a bit, I take it out to a close local dirt trail. The power steering is so nice to have, that I don’t pay any attention to turning at slow speeds. Although, as the engine rocks on the motor mounts, the brackets does hit the air compressor with a light little tap, tap, tap.
The transmission is definitely different with the wider gearing and higher low range, but it works. Yet, as expected, first and reverse are a bit crunchy on shifting due to the condition of the gears. It’s fine.
I do see a little coolant sprayed around the left front wheel well, but it’s due to the previous owners electrical taped lid on the overflow bottle.
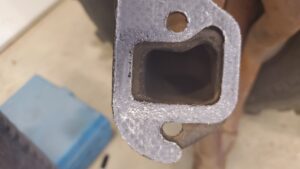
Although I’m really happy with the way its running and driving, I do need to address the header exhaust leaks. I hope it’s just a simple gasket replacement. But you know what? I’m not doing that today.
And while it was a cool day for a drive in a vehicle with no real top or sides, it is the warmest it will be for over a week. My next “weekend” it actually snows several inches, rather odd for March in this area.
Oh well, I’ll drive it when it warms up. At least it can go places now!


