Homer
The Homer Detour
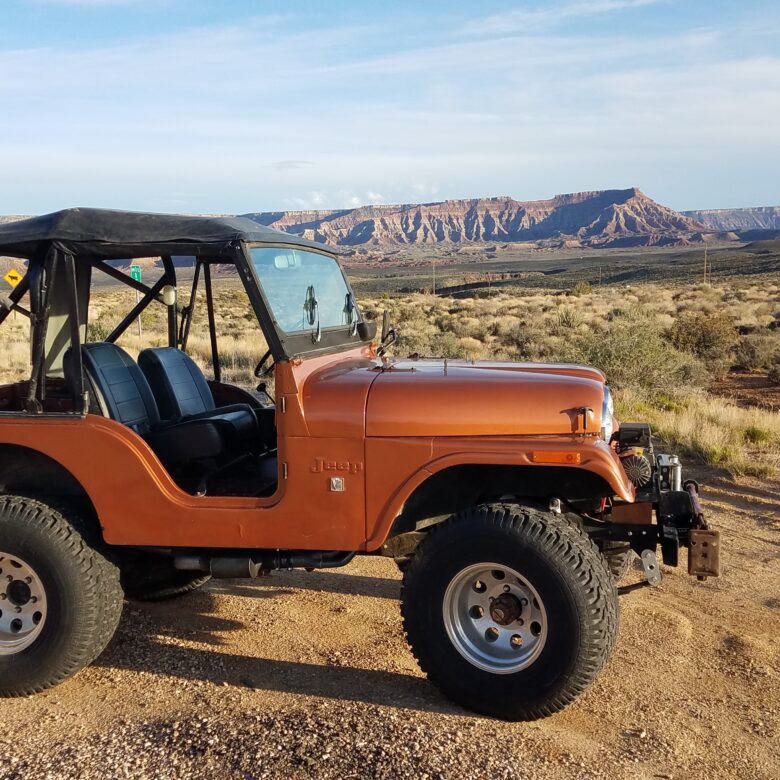
Seeing as the weather was good and I could do work on the Deuce inside when the weather turned, I shifted my focus to Homer. What’s wrong with Homer? Oh…tons! We don’t have time to go into all of it, but I decided to focus on 2 areas. The shifters are hitting the sheet metal and I wanted to install a tachometer I pulled off Humpty.
At least that was the plan.
Grabbed the paint pen and marked out what metal needed clearanced. It was fairly straightforward. The overdrive shifter was hitting when it was in normal gear. It just barely touched, but it caused a lot of racket. I also need to put a spring washer on the overdrive shifter as it loves to bounce around when in overdrive. It doesn’t help that the shift knob that came with the shifter kit was huge and heavy.
The transfer case’s twin sticks still hit the body even though the previous owner smashed it with a hammer. Why didn’t that cure the problem? I also ripped off the tattered remains of the twin shift boot that I had bought shortly after getting Homer road worthy. It lasted 2 whole drives before ripping. It sounds like mine lasted pretty long.
I grabbed the dremel and cut the metal. Pretty anti-climatic, but I’ll take it. I will need to figure out some sort of shifter boot, but one thing at a time. Now I can shift without hitting metal and drive without the shifters banging around. It won’t be a silent drive, just less noisy.
Wiring up the tach should be easy, right? Four wires: +12v, light, ground and signal wire. Mounting the tach to the steering column was easy. It basically only fit in one location, so… there it is. The signal wire slipped through the firewall with all the other engine wires and easily made it to the coil. Looking at the power and light wires, I start to remember that the dash wiring isn’t ideal.
When I had wired the heater fan, I had followed power wire from the battery to the light switch and pulled power from there. Where all the other power was pulled from. There were a lot of wires on the back of the light switch. And they were always on. I determined to fix it. Or at least start.
I had put in a small fuse panel in during the heater install, using one of the ten slots. Now, I decided to look at other sources of power and pulled out the ignition switch. After figuring out which terminals were powered on with the key, I pulled power from there to the fuse panel. Then it was a just a matter of…oh wait. Might as well finish installing the voltmeter that I had pulled from a parts jeep a while back. Oh, and it has a light. Might as well hook that up. But the oil pressure gage doesn’t have a light. But this other gage from Humpty does. Let’s swap that over. It almost fits in the dash. Just a little rework of the hole and it fits.
And that is how I spent my entire day. Ain’t ADD fun?
Oh, and while I was installing the signal wire to the coil, I noticed that the power wire to the coil had been chewed on by something. A nice 6” long section of almost bare power wire sitting on top of the intake manifold. Made a new wire and actually put some wire loom to prevent more damage.
While the dash and floorboards were a mess for a while, I got it all back together. The only issue was that one of bulbs I stole off Humpty was blown. Easy fix.
Oh, and the voltmeter is offset by 4v. Details.


