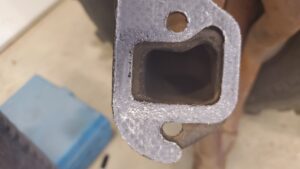
Homer
Soon after Homer’s overdrive was installed (and let’s not forget the functional heater!), I noticed there was a little extra wooble to the front end. Now understand, there is a whole lot of shaking going on during a normal drive. So when I say there was additional shaking, I mean I am shocked the rearview mirror hasn’t flown off yet.
I found that there is a bit extra play on the right front wheel, maybe a bit of growling, when raised off the ground. I had been meaning to check the front bearings at some point. I guess the time is now.
I pull both wheels off and… Well shit. The right front spacer has one lug nut backed most of the way off. And the rest are not to torque. Luckily, I seem to have caught it early as there is no thread damage. After taking off the drum and locking hubs, it is obvious that I need new bearings on the right front. The left ones aren’t too bad, but they are not completely smooth.
Since I want to go for a ride today, I put it all back together with some more grease and they don’t feel near as bad as before. Maybe they were just too loose? Naw, the right front is definitely on the way out, but it is taking its time. I drive Homer down the hill to get the bearings and seals ordered.
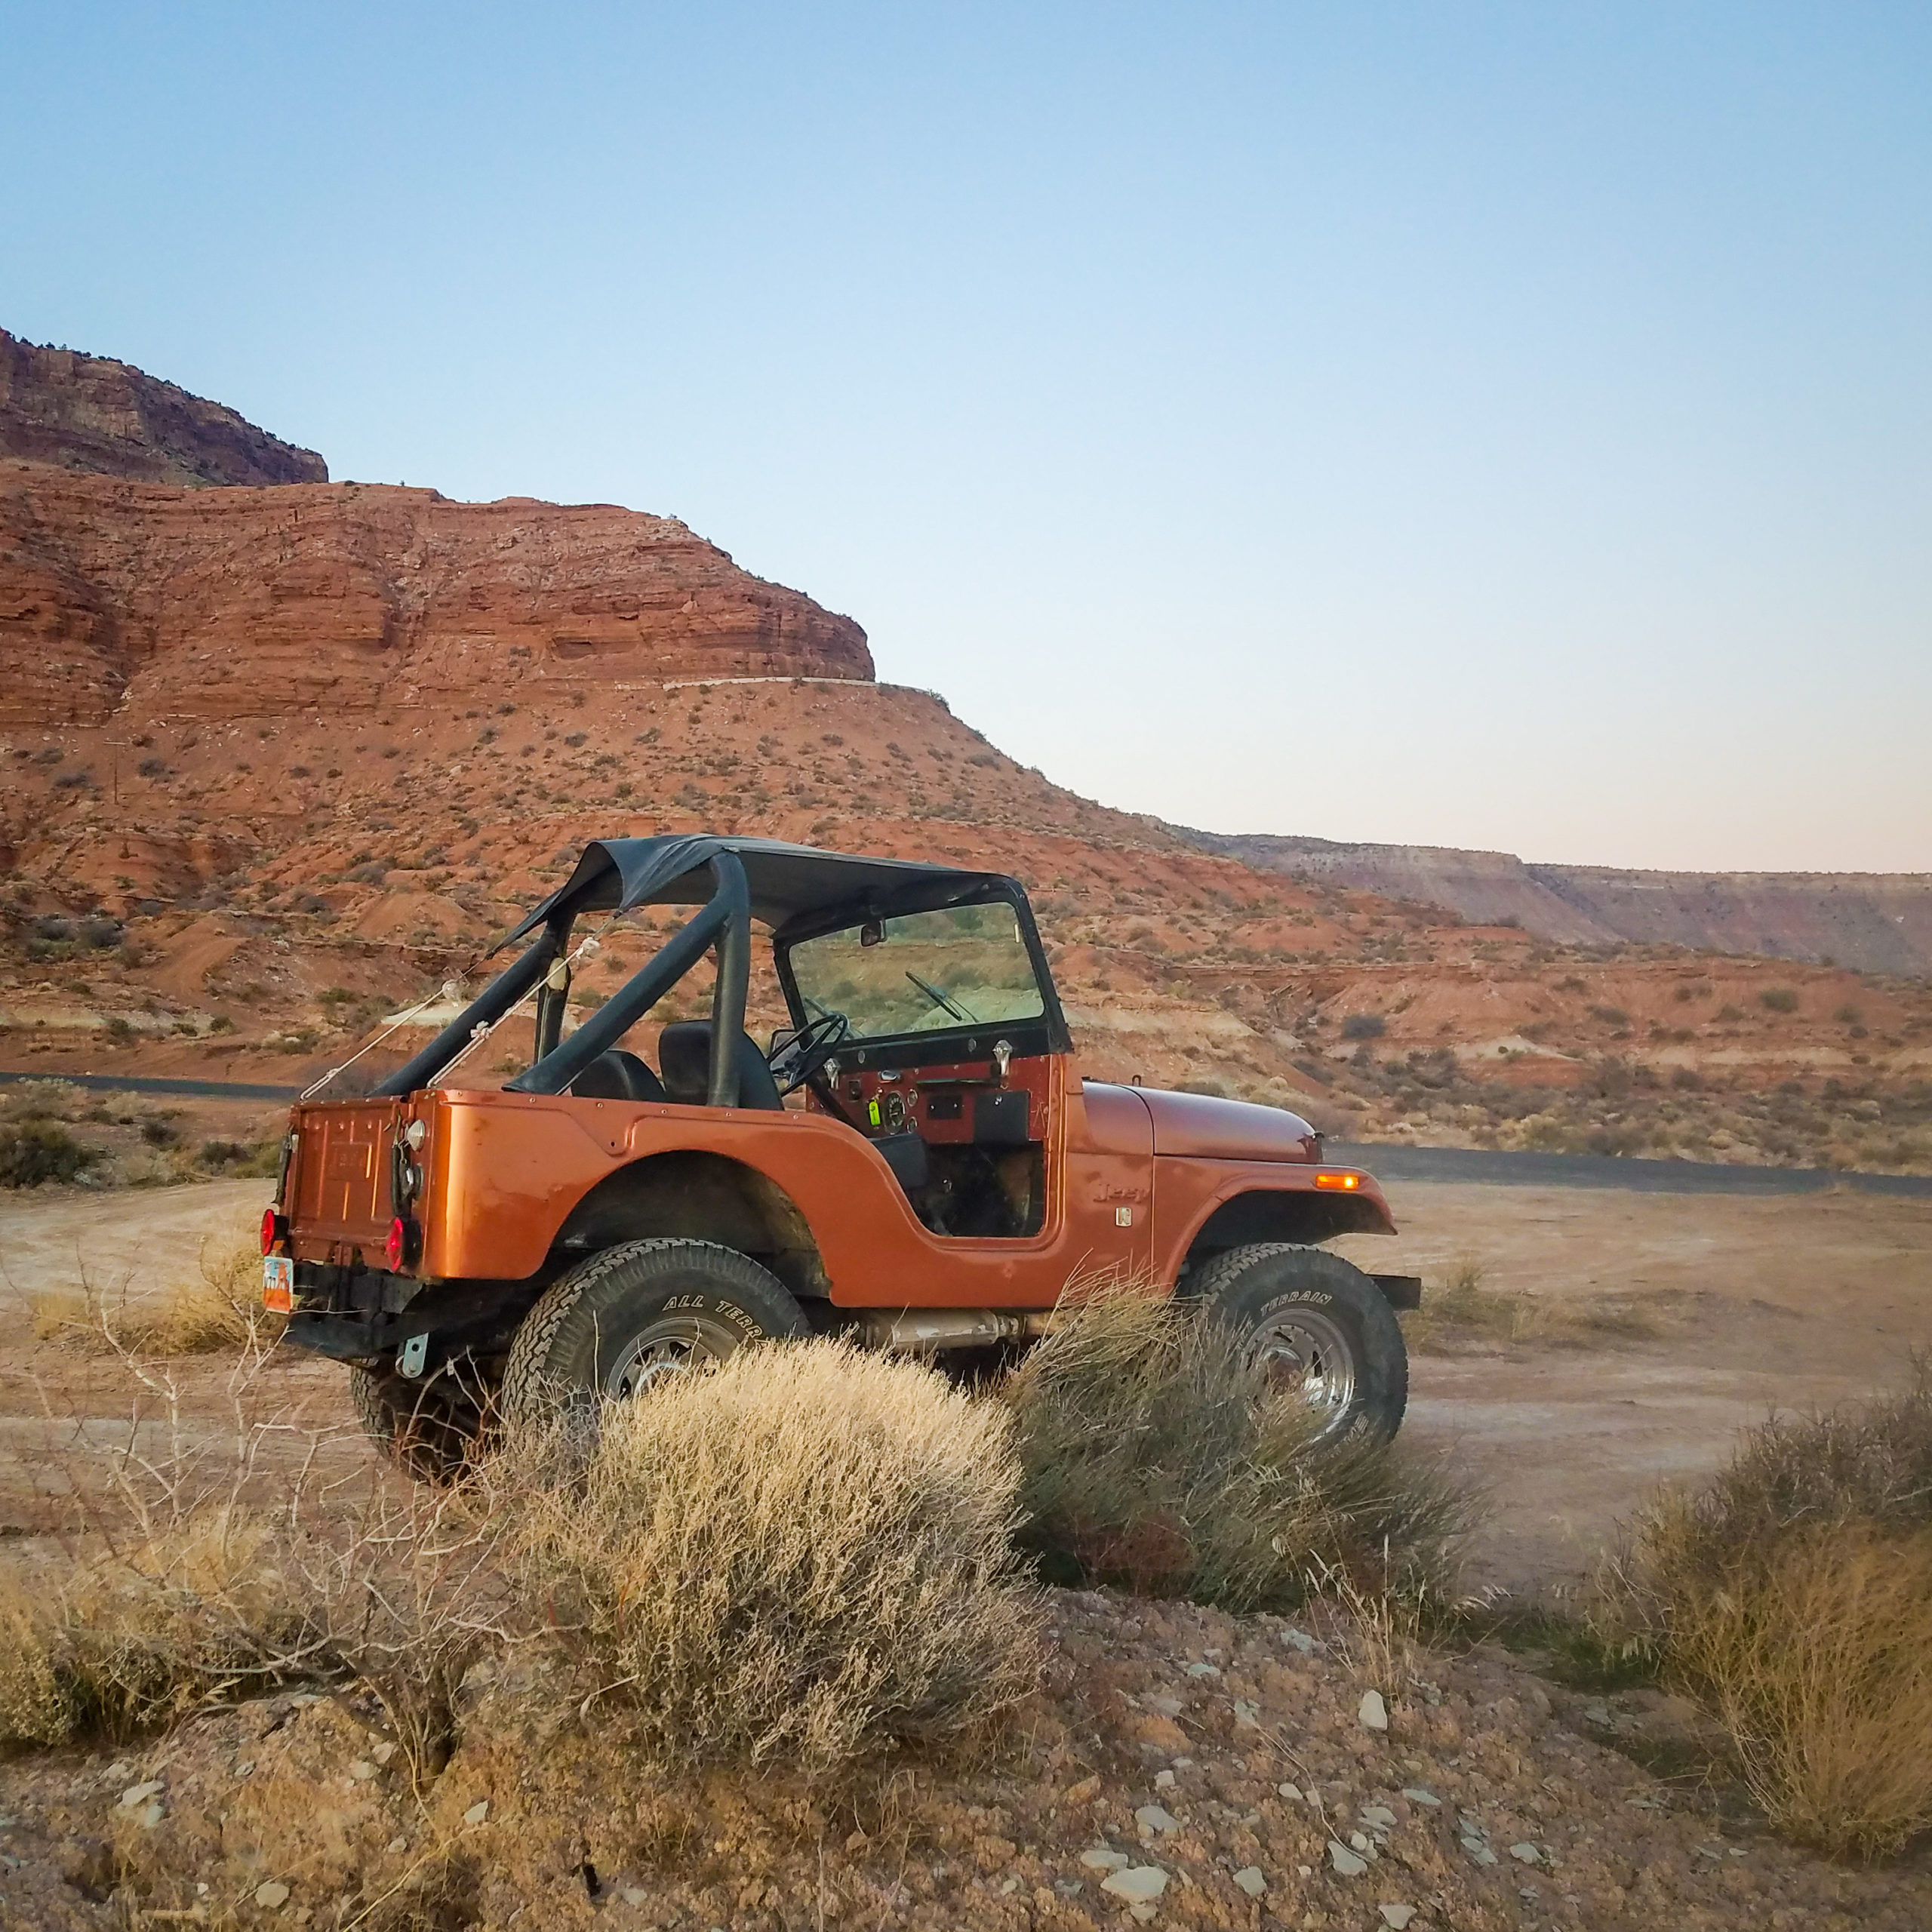
It’s too nice of a day, so I load up Homer with my camera, some food, tools, and extra gas and head up towards higher altitude to chase some fall color.
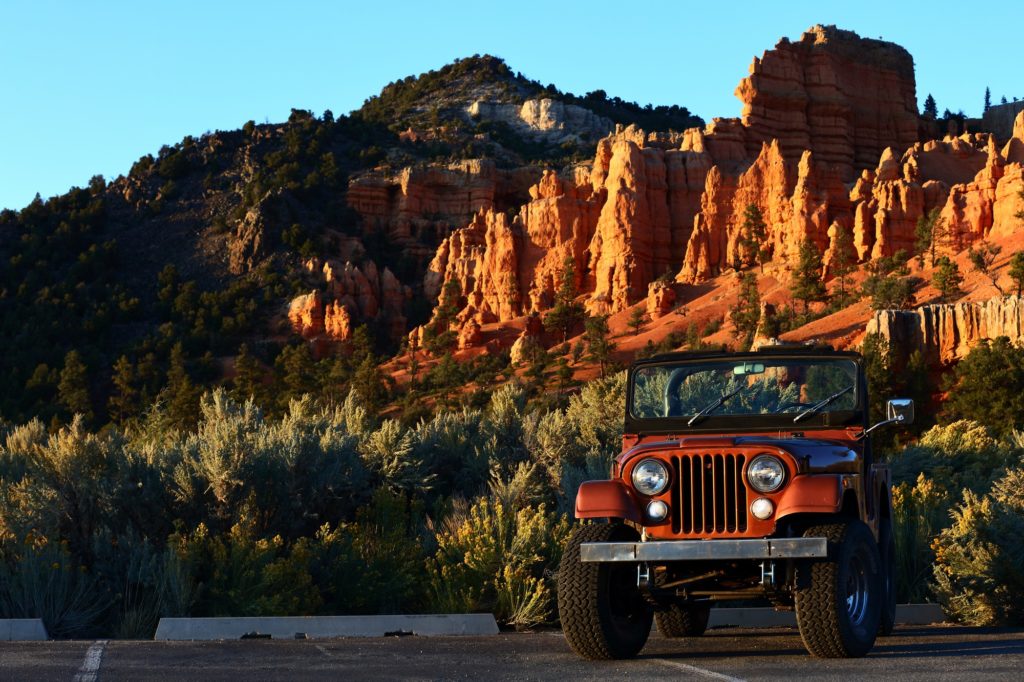
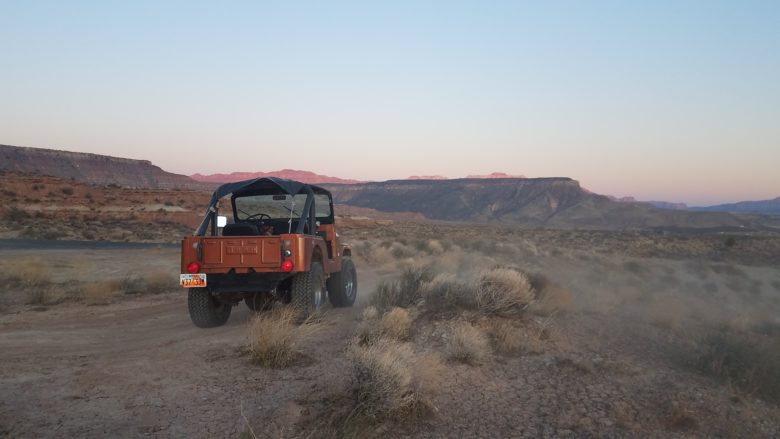
With the tires aired down a little, Homer managed the high mountain gravel road fairly easily. Although it is becoming obvious that I need to rebuild the steering. It is hard to enjoy the ride when you have no idea which way you’ll go after a bump. Also, it is quite dusty, but that’s to be expected driving a Jeep down a dirt road.
Together we made it over 10,000 feet elevation and over 200 miles of driving that day. The heater was maxed and I looked like I was robbing a bank in the middle of winter, but we both survived. Even the right front bearing was no worse for the wear.

The only issue to occur was that I had trouble getting into 1st gear while pulling back into the garage. I definitely have to figure that out.
The next morning, I look over Homer to see what damage that 200 miles made. Check all the fluids. Engine always seems to be a quart low and is so again. Just doing my part to control those diseased mosquitos. The rear diff is a little low and seems to be mainly loosing it out the rear fill plug. Front diff is full. Trans is a bit low, which might explain some of the shifting issues. Transfer case is good, but it is probably being feed from the transmission as that is not an oil tight joint.
Brake fluid level is fine, which is odd because I notice some fluid coming out of the left rear drum cylinder. Yeah, I just noticed that this morning. Good thing I had ordered 2 new wheel brake cylinders the night before. I had known the right rear was pretty much seized up and decided to change both.
Knowing that I need to replace the right front wheel bearings, I jack the front up and check the bearings. Both are noticeably looser than yesterday when I started our little journey. Hmph. Maybe I need to torque them better, or revise how I seat the bearings. Seeing as I am using an oversized giant wheel nut socket, I thought I had got it close enough. Guess not.
I also tighten the clutch cable so that the clutch will disengage when the pedal is somewhere above the floorboard. Between the cable adjustment and the fluid in the transmission, Homer is back to shifting well again.
The next two days I drive him to work and back. The tightened wheel bearing reduce 50% of the front end vibration. But the steering now has my attention. There is just way too much slop, especially over bumps.
To the internet! I ordered new tierod ends, all 4, and rebuild kits for the steering box and bellcrank. Since the original steering wheel is brittle and cracking more each use, I ordered a new wheel and horn kit, something I’ve been without for a while. OK, it had a horn button on the dash that some previous owner thought was a good idea, but it had since exploded out the backside of the dash. I also tacked on another brake pressure sensor as the front one was replaced with a plug a long time before I owned it.
Waiting on parts is the worst, but I also wait for some warmer days as I don’t like working in the cold. Call me spoiled. It might have been a month or two.
When it was warm enough, I went out and fired Homer up. I had to manually prime the fuel pump and carb, but he grumbled to life.
I had bought an inline check valve to prevent the fuel from draining back into the tank and installed that, but by the time Homer warmed up, I noticed that there was fuel dripping down. I verified that I hadn’t left anything loose and that the fuel was coming out of the weep holes of the mechanical fuel pump, indicating a ripped diaphragm. Guess a few months of sitting dry isn’t good for it. Come to think of it, I have no idea how old it was. Since those are not serviceable, I ordered a new one. More waiting. But while it was down, I tackled some of the steering.
The bellcrank was easy enough to rebuild. There was so much slop in that one component to account for a good portion of the steering vagueness. The only issue was that the ball for the connection to the drag link had obviously been run dry for a while and needed a couple of ridges filed down. And it needed a good soaking in the parts washer.
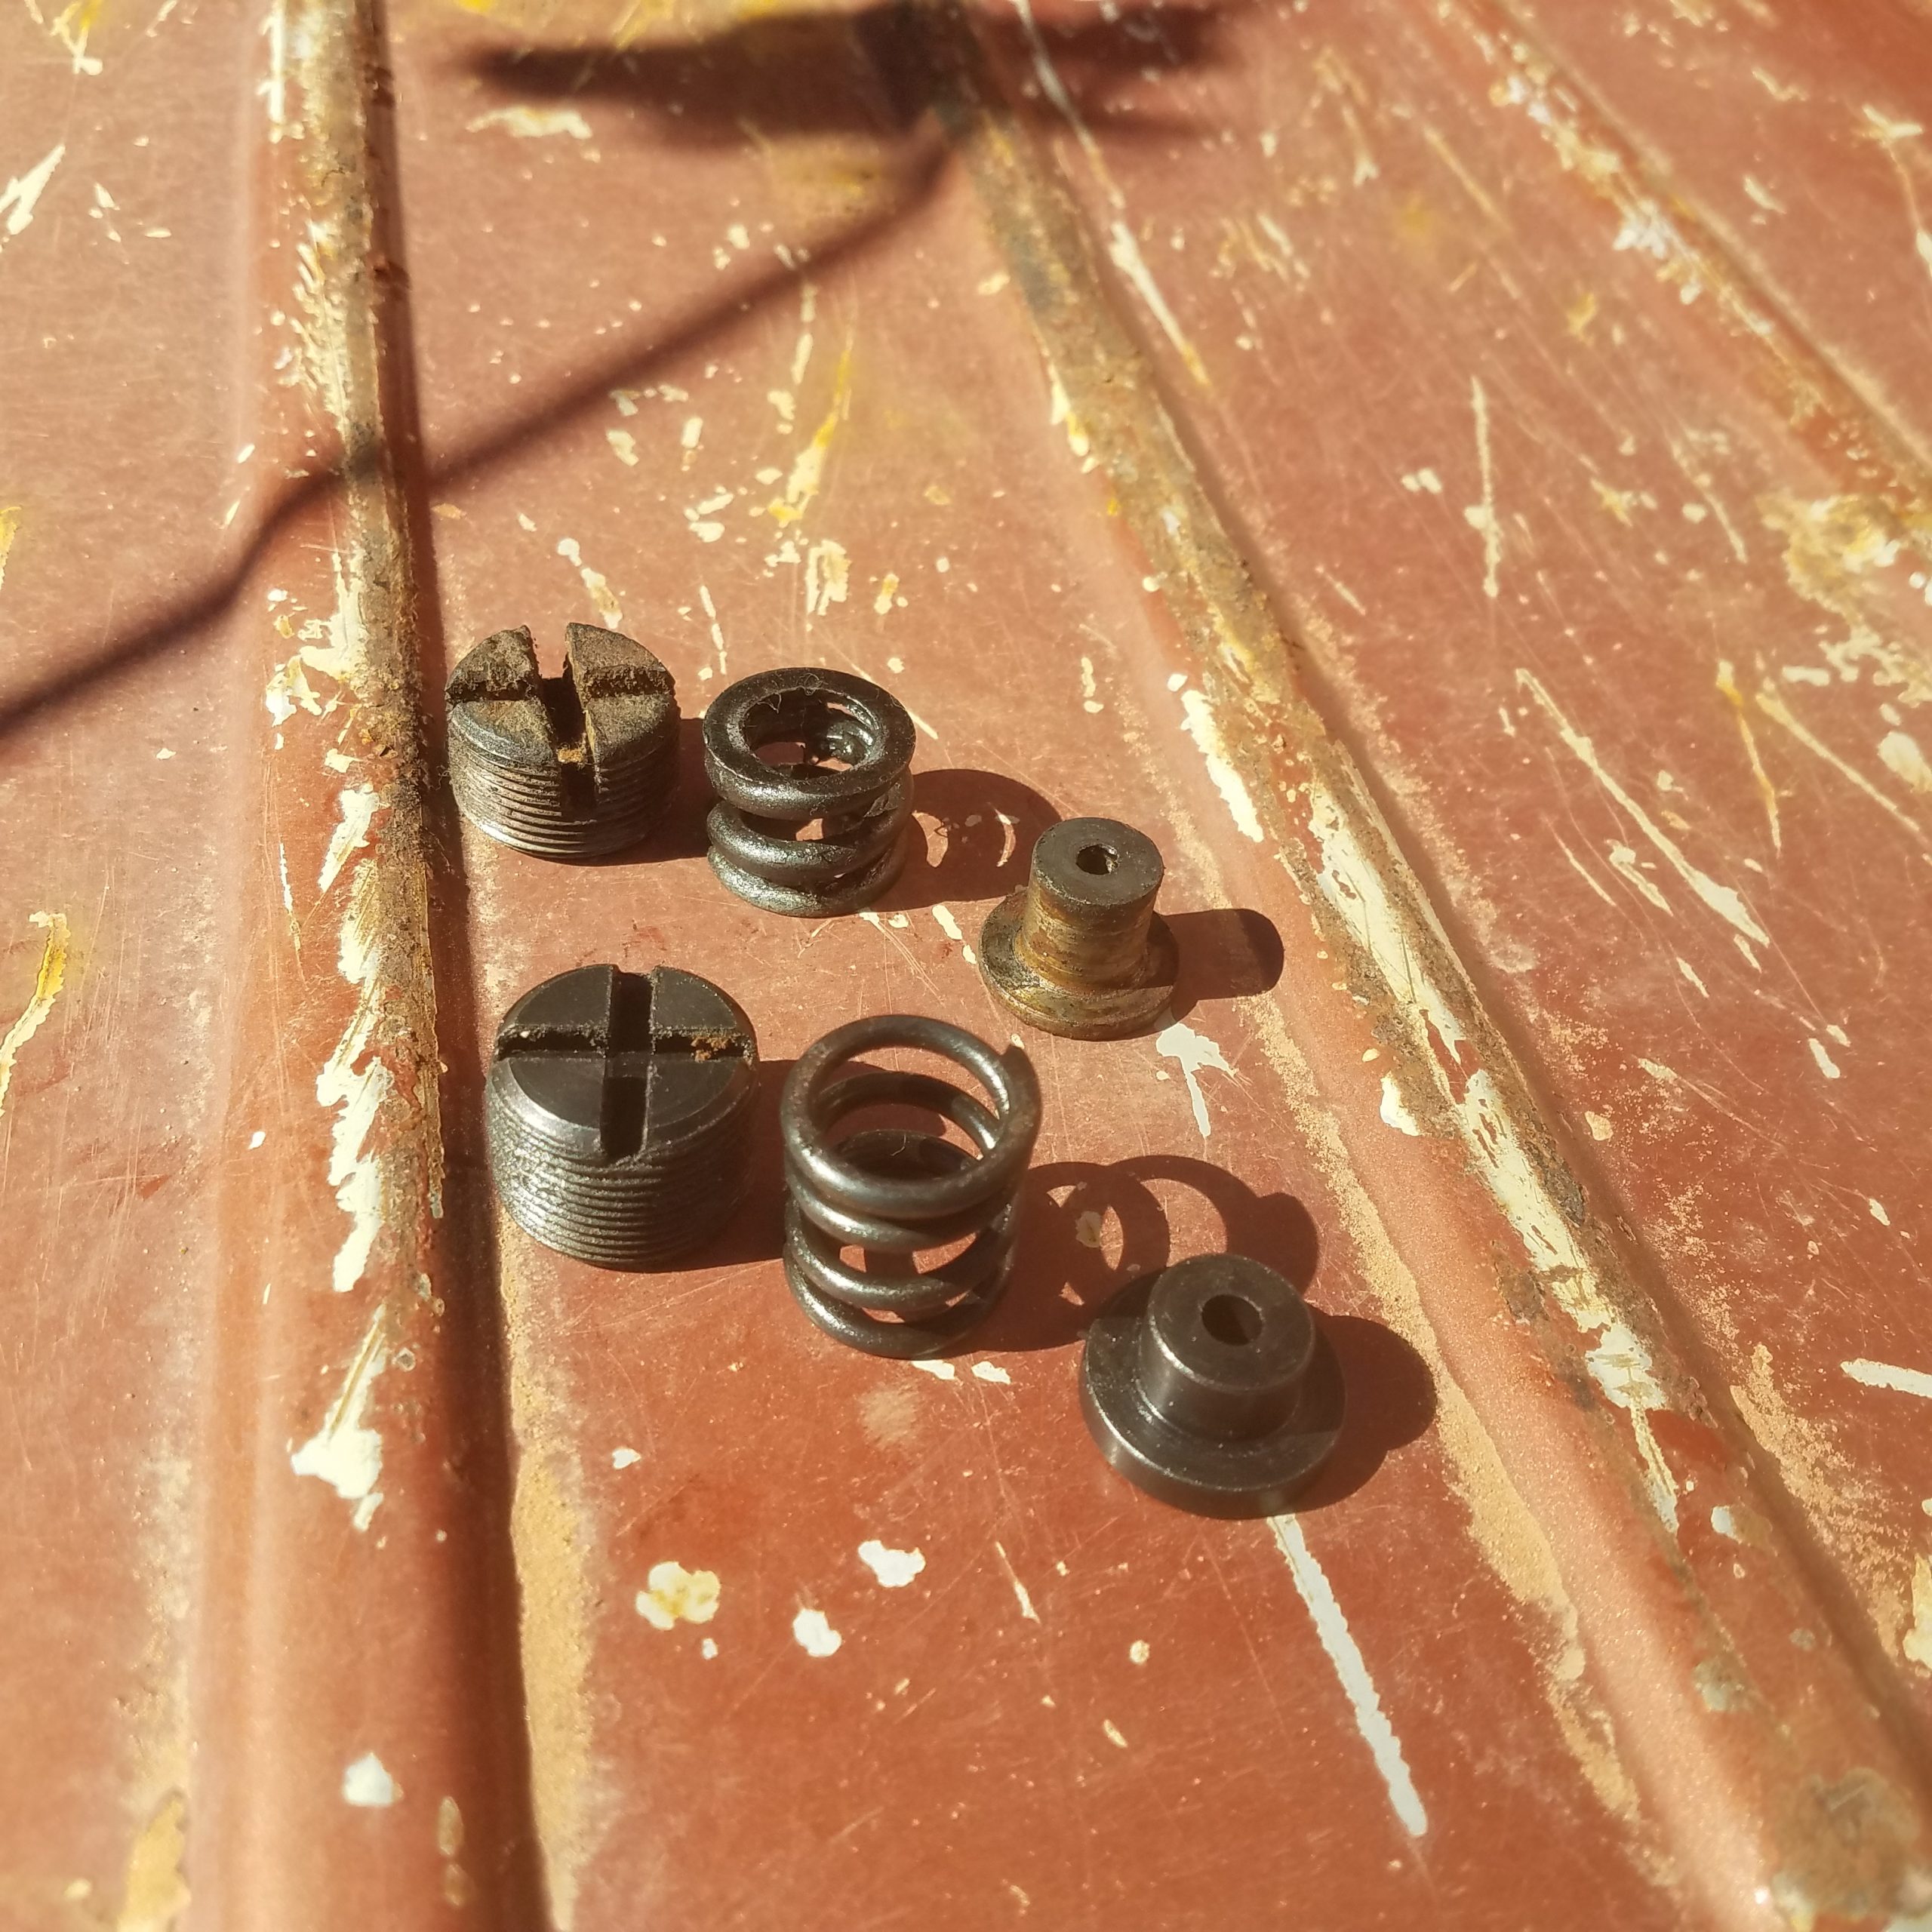
Speaking of the drag link. Either I had one from some other vehicle or aftermarket repair kits suck!
The original parts are up top on the left, and on the bottom on the right. The spring seat base is taller, the spring is taller (yet weaker), the plug is longer yet the groove is deeper. So tell me, how is the cotter pin supposed to fit? I used the new spring to see if the softer rate would soften the steering impacts, but the original seat and plug. Not shown are the ball seats which I wasn’t 100% sold on, but weren’t obviously junk. I was reminded of what some wise old jeep mechanic had said: “never throw out the original parts”.
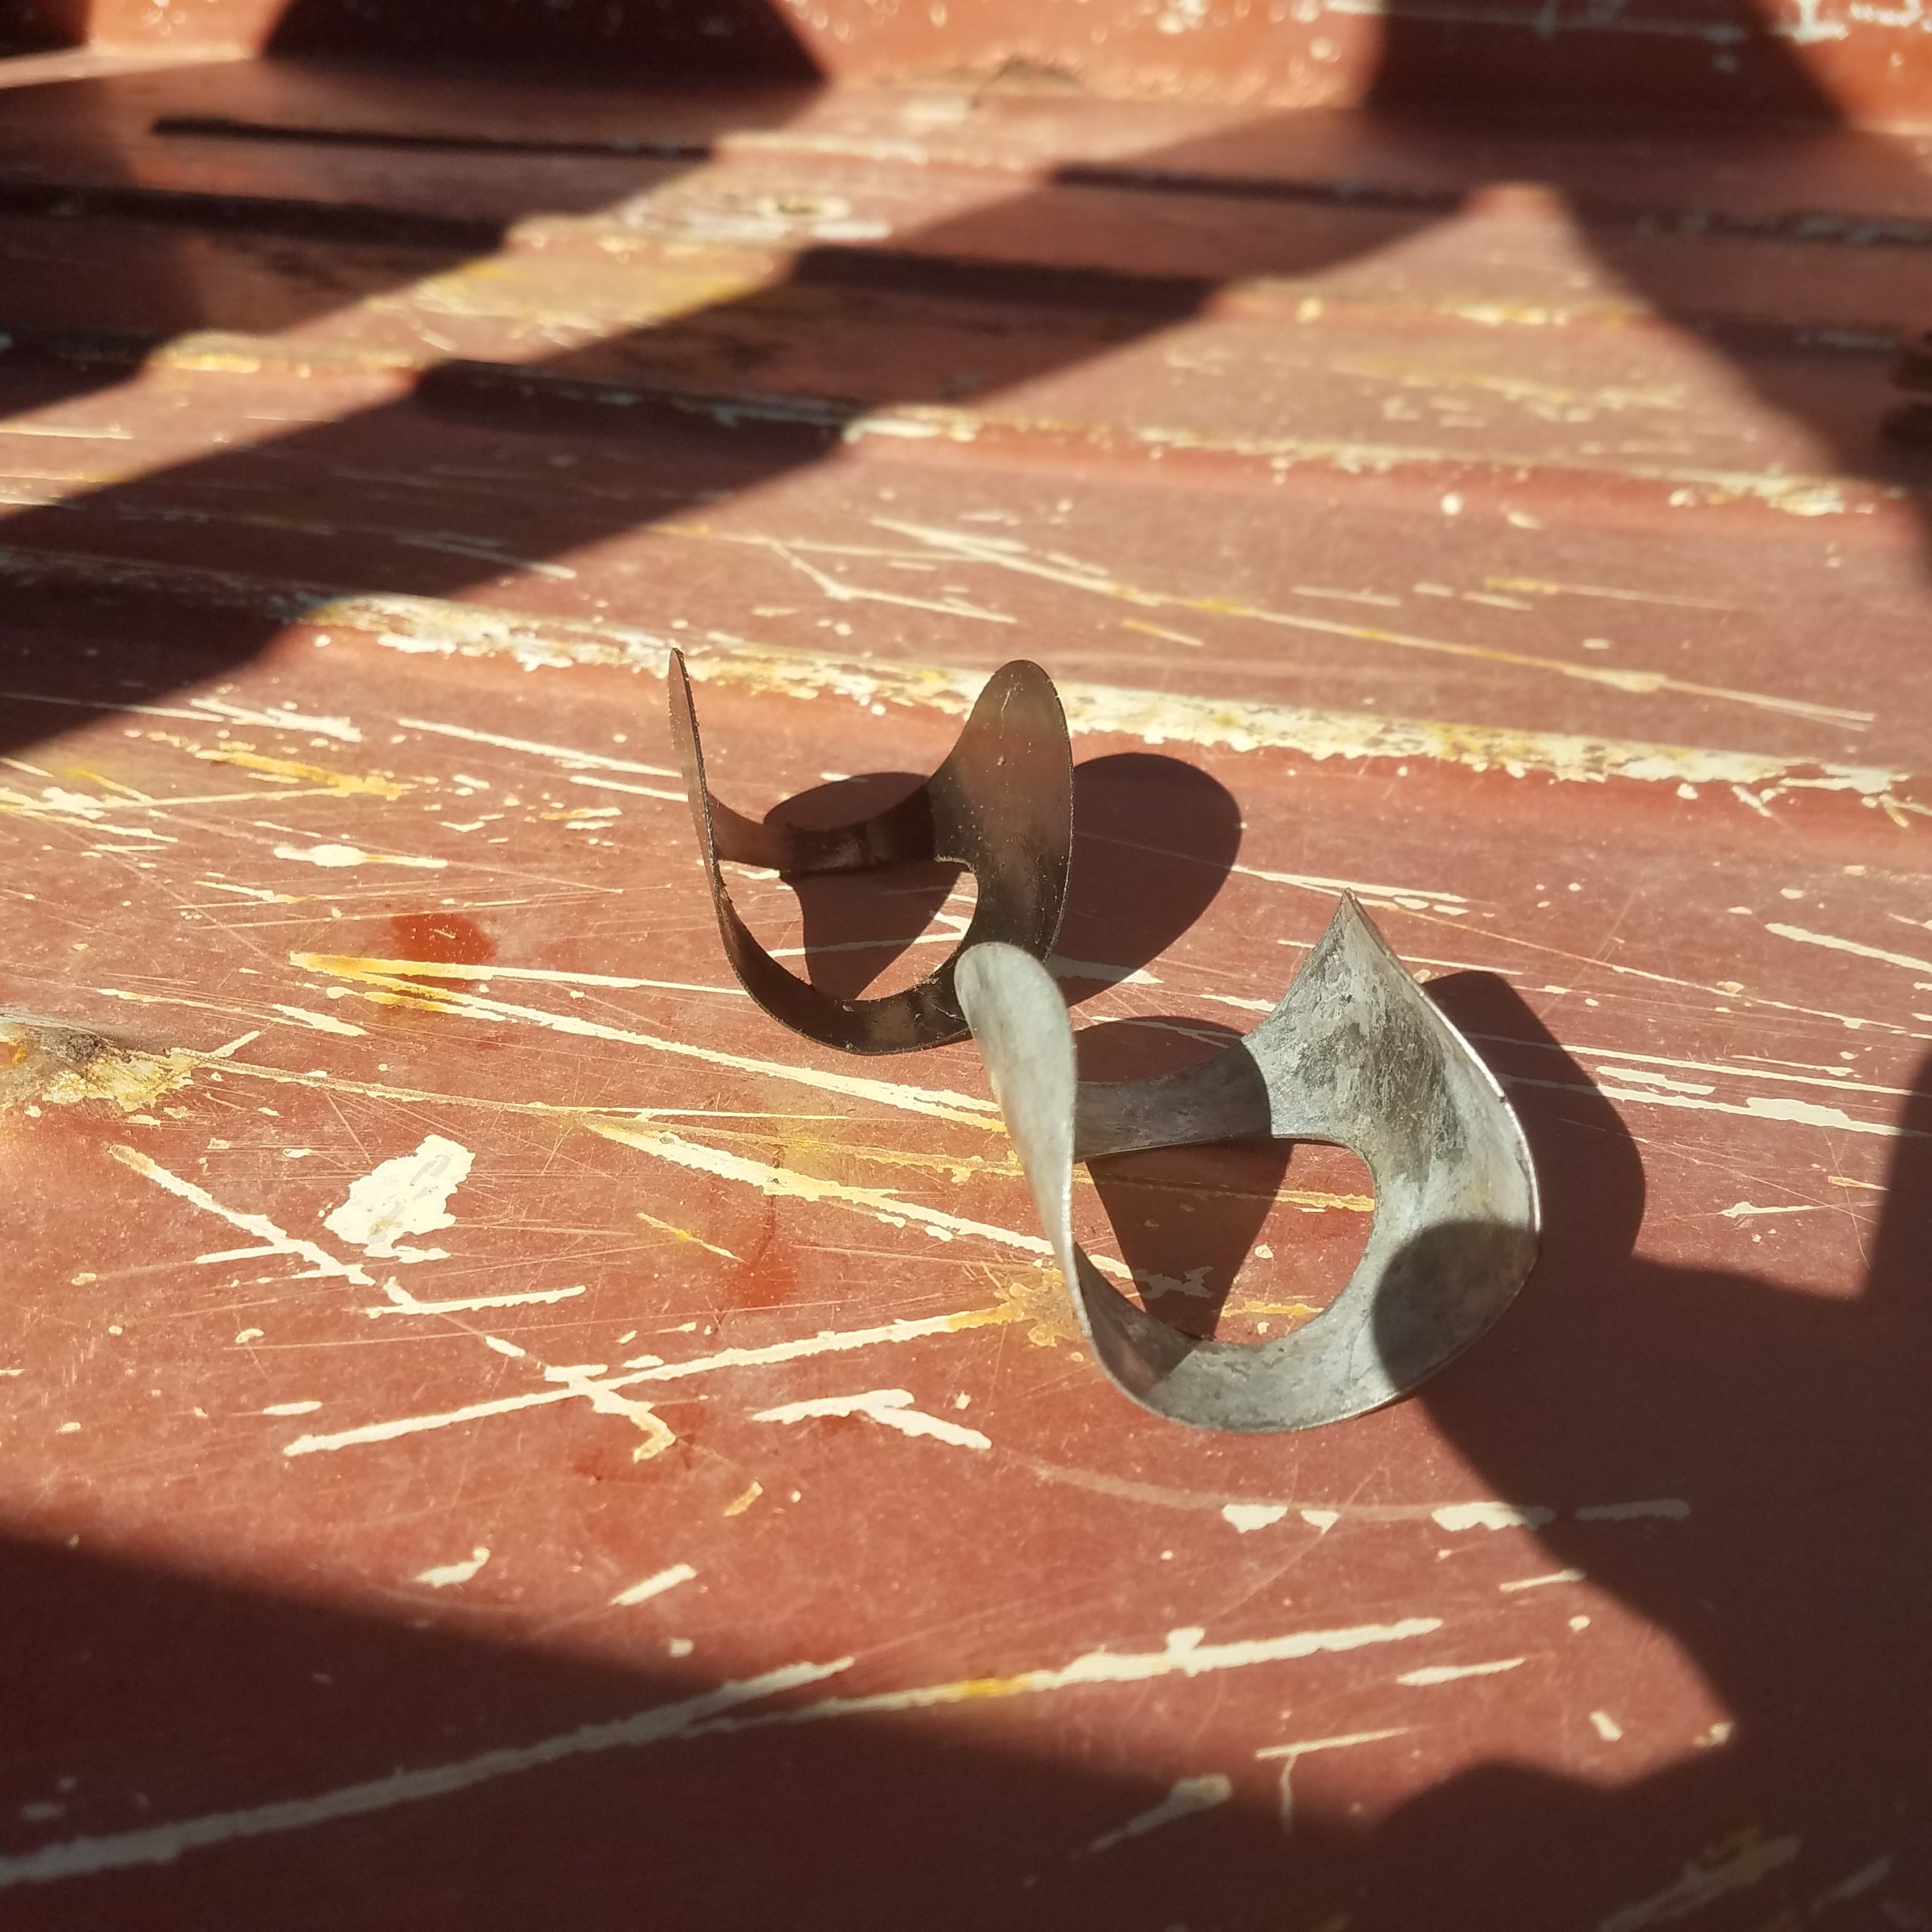
Once I finally got all that sorted and installed, I ran into the fact that the new gasket holder, aka the potato chip, wasn’t shaped to grip the drag link. Yes, they were flexible enough to shape, but there was no holding power. So, I disconnected the drag link and replaced the new parts with the originals. Now it all looks and works right.
I also replace the tie rod at that bellcrank. I consider changing the other three, but decide the steering wheel should take priority. Why not?
First thing, I remove the old, cracked steering wheel which goes smoothly. Mainly because I had replaced the steering shaft tube last year. Speaking of that tube, it was about 1/4″ too long and prevented the steering wheel nut from being fully torqued. When tightened, the steering wheel would hit the tube and drag everytime you turned the wheel. It was not ideal. So I ran it with the nut a little lose and just gave it a twist of my fingers every 30 minutes or so of driving. Still not ideal. It’s a good thing the center of the wheel was too rotten to hold the horn button cover, so I had easy access to the nut.
Yank the new tube off, muttering something about crappy aftermarket parts, cut 1/4″ off the bottom and reinstall. The new wheel bottoms out internally, as it should, and torques up nicely. Reworking new parts is not my favorite activity.
Now it is time to install the horn wiring. Simple enough, right? Straight down the steering shaft and out the bottom of the steering gearbox. I notice there is no light making its way through the tube. Oops. I find one of those super long drill bits used for running wire behind drywall. It’s about 5′ long and is bearly long enough. From the top, it won’t find its way through. From the bottom, I twist and turn it as it slowly inches into a bunch of road grime that is packed in the bottom of the tube.
Eventually, I get it to pop out the top. Tape a wire to it and, of course, the tape falls off during the narrow bottom section. What works in the end (I won’t bore you with details and swear words of other attempts) is a roll of 10 gage wire, fed up from the bottom and taping the horn wire to that. At least it worked the third time.
As I’m routing the new wiring, I decide to put the new brake pressure sensor in where some dork put a plug in. That goes easy enough and it is just a matter of modifying a few electrical terminals to fit the posts on the sensor.
I finish up the wiring of the sensor and the horn. By now, the sun is low, the winds are picking up and the temperature is dropping. I fired Homer up while I put all my tools away. I test the brakes and DING! I have brake lights again. No more hand signals. Honk! That works too.
Close the garage door and hop up for a quick drive. The air has now decided it can’t stand to be around and it is headed south in a hurry. I expected a bit of the sand on the floorboards to blow around, but now it is coming from the mesa just north of the house. By the time I get back, I have sand in both ears, etc. A lot of sand.
But Homer is running, turning and stopping well. I’ll call it a good day.
